The Maze
Initial Intentions
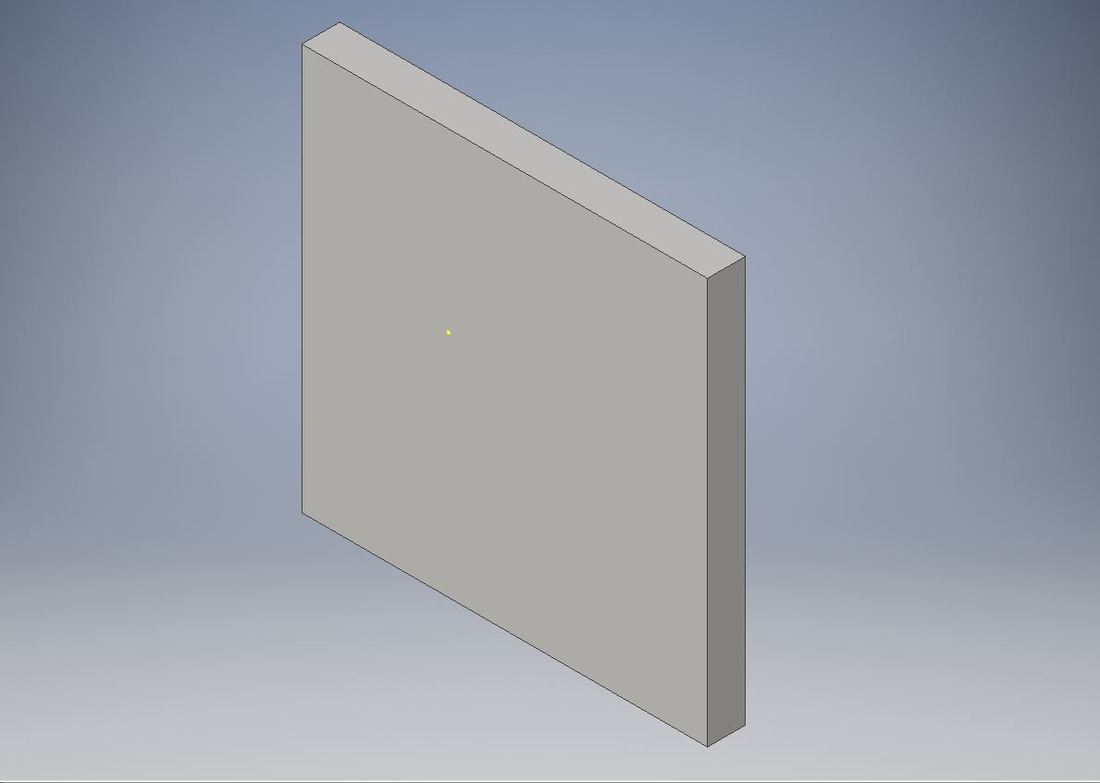
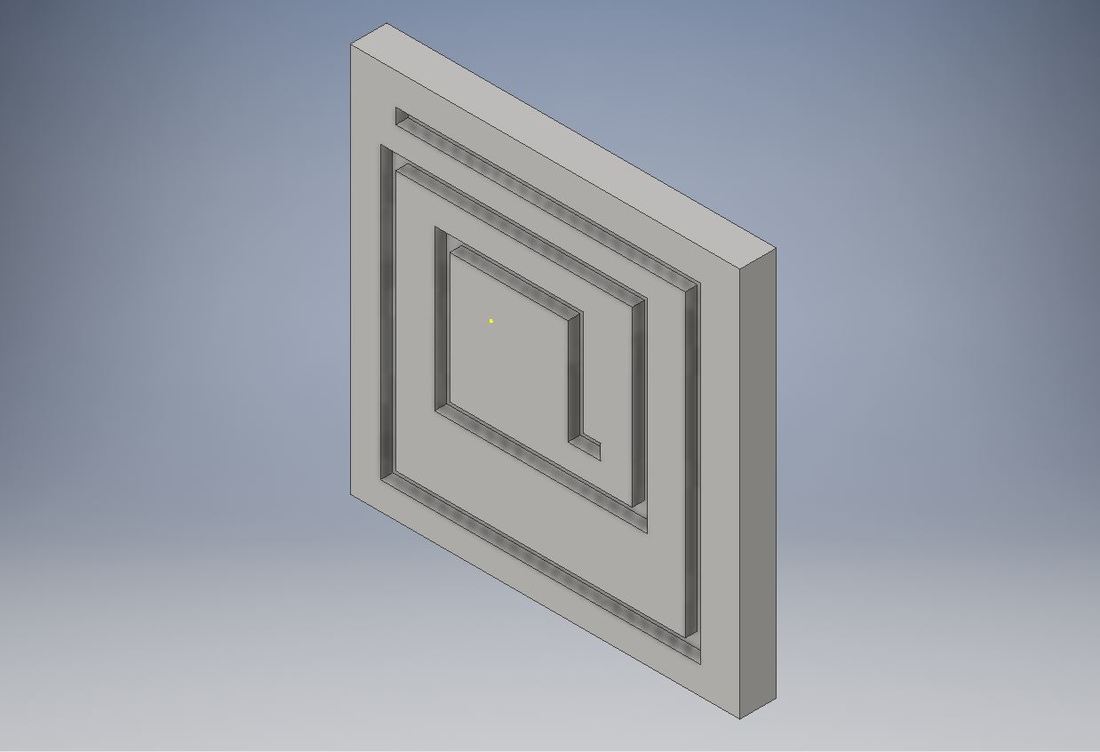
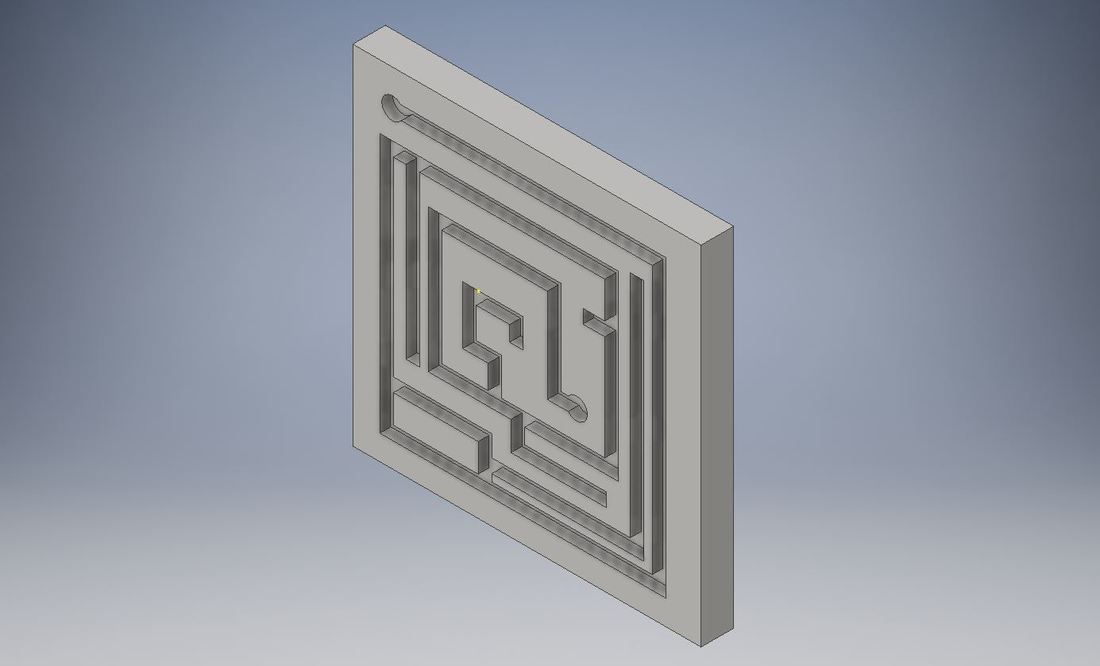
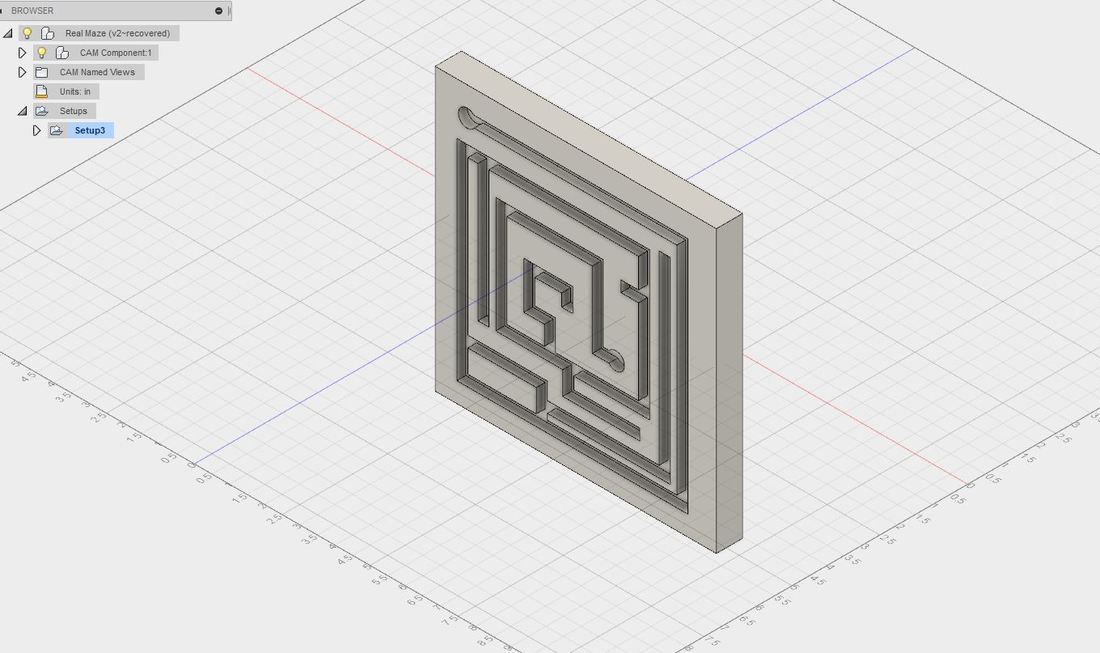
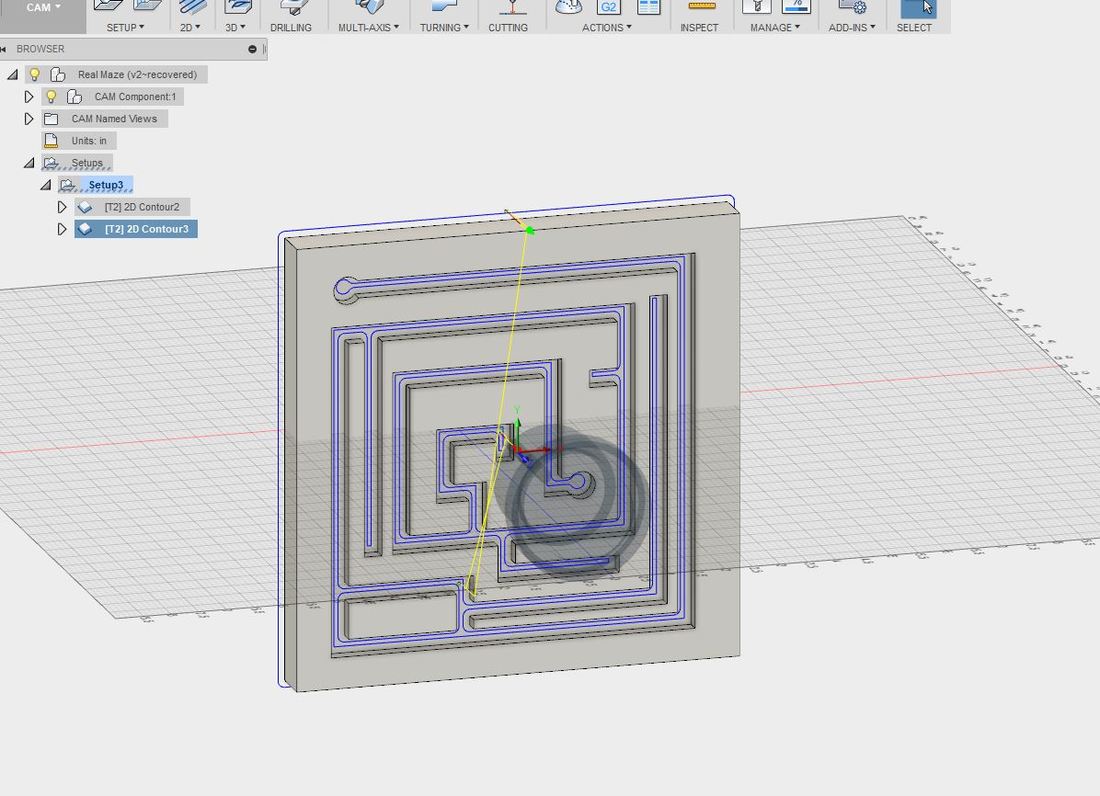
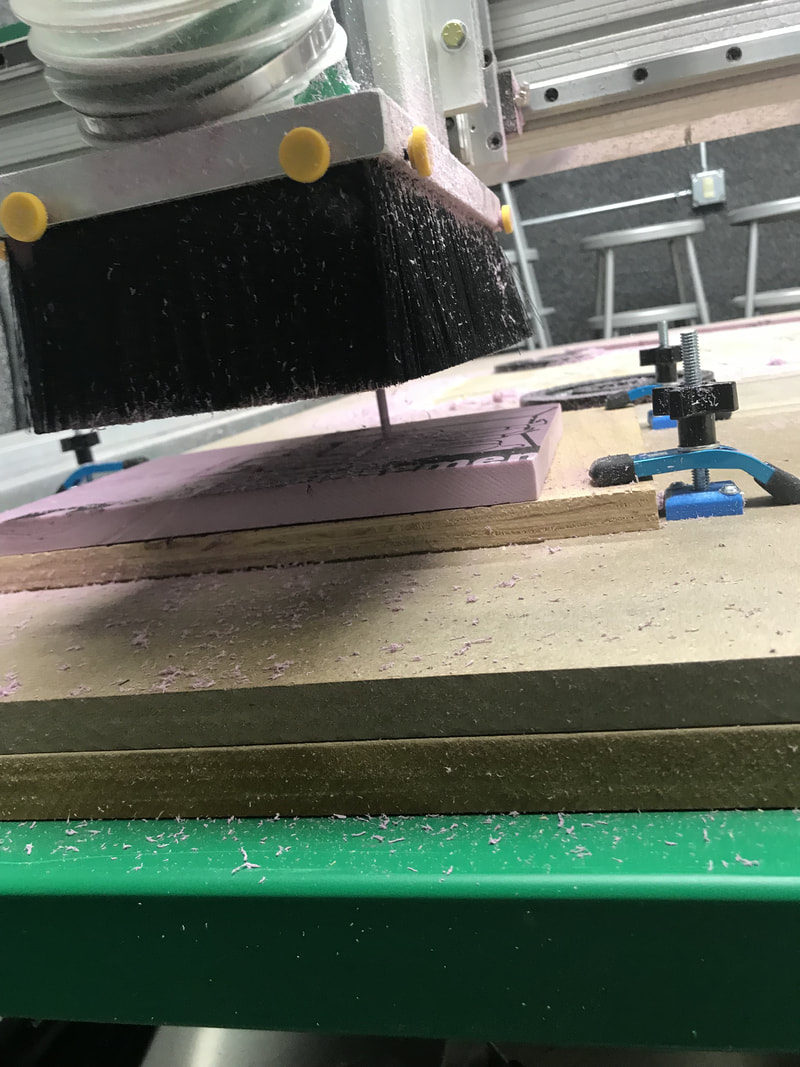
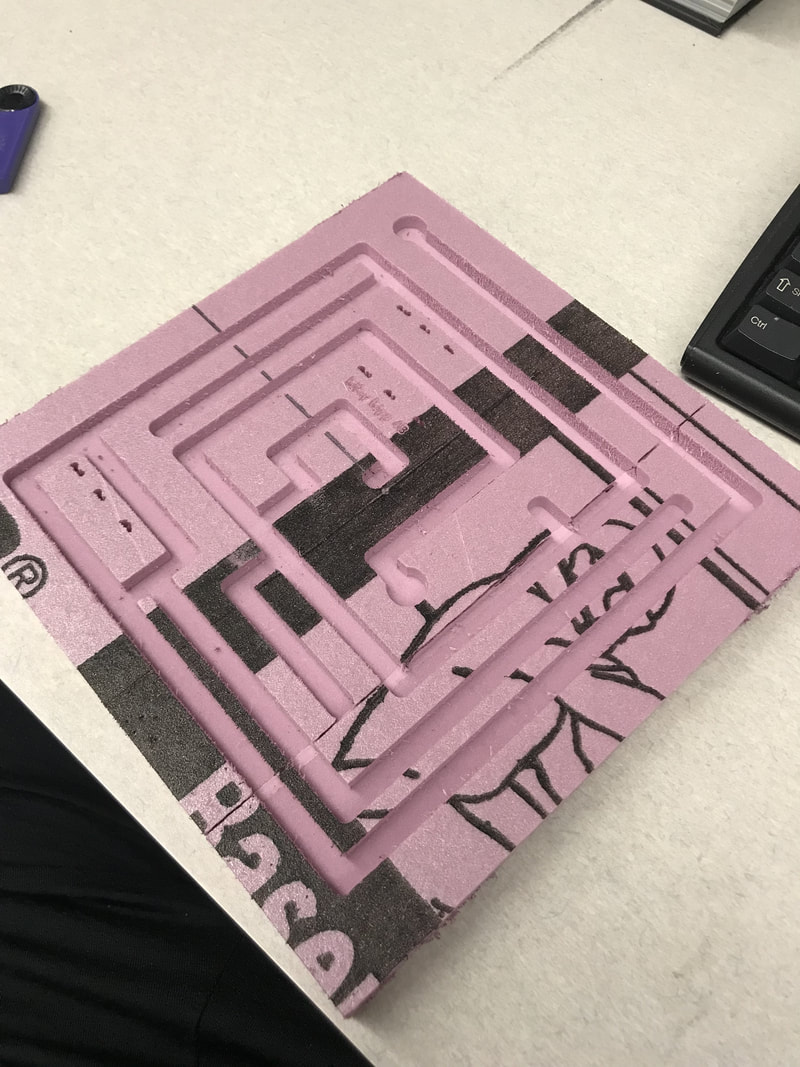
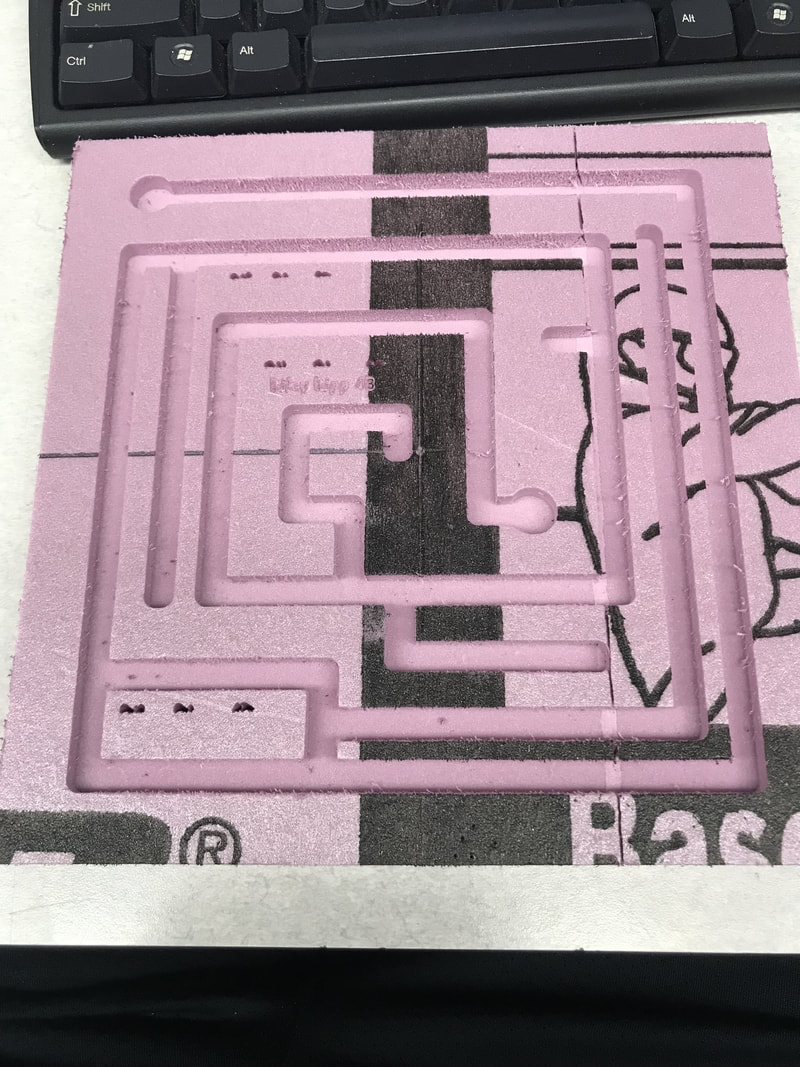
For the CNC Router we were required to make a maze out of foam. My first idea was to make a super complex maze that I could barely figure out. After a few times of figuring out how to make the maze on inventor, I decided to finalize my design. To begin the process I first created a platform for the maze to be on. It was a 8 inch by 8 inch piece of foam. I then extruded the design to a thickness of 3/4 inch. After creating my base I started to put in the channels. After all of the channels were put in I put two circles at the ends of the maze to show the starting and ending points. When all of this was complete I then uploaded the file to a new program called Fusion 360. Fusion 360 is a program very similar to inventor, where you can create 3D sketches. After uploading the file to fusion 360 I then went in and changed settings to be able to set it the router. I had to change the feed rate, the speed, and I had to make sure the tool path was correct. After making sure all of my settings were correct I went down and cut out my maze. I then laser engraved my name to my maze so no one could steal my creation.
Step 1 Inventor

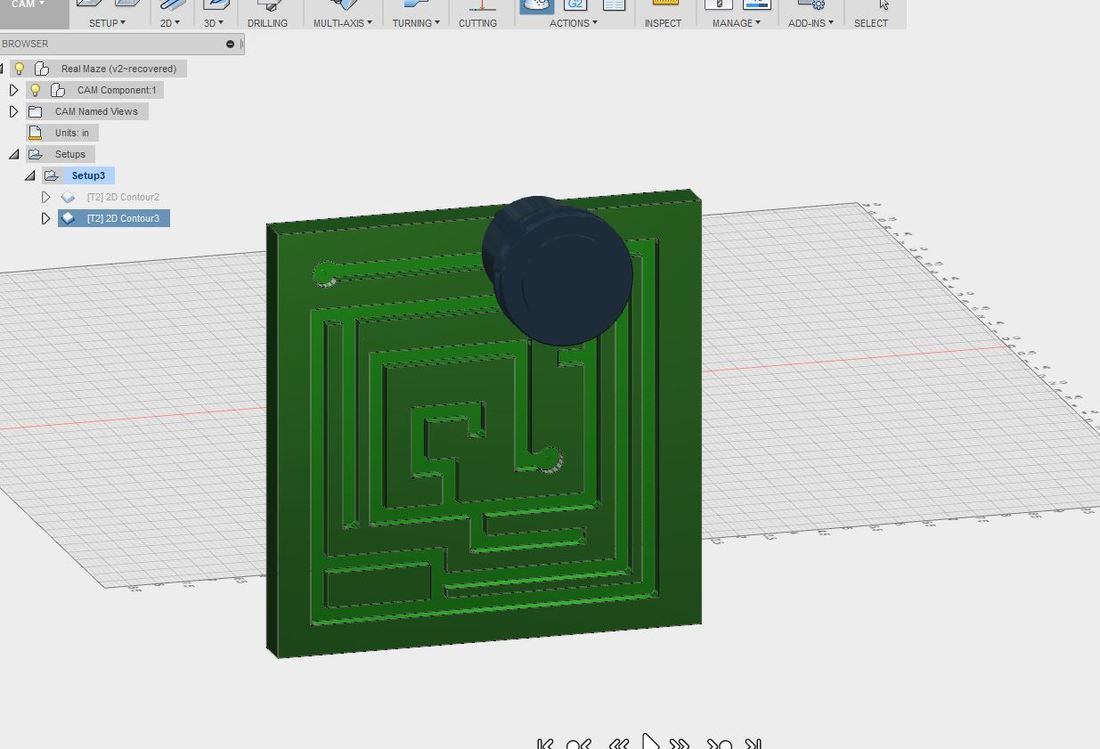
Step 2 Fusion 360
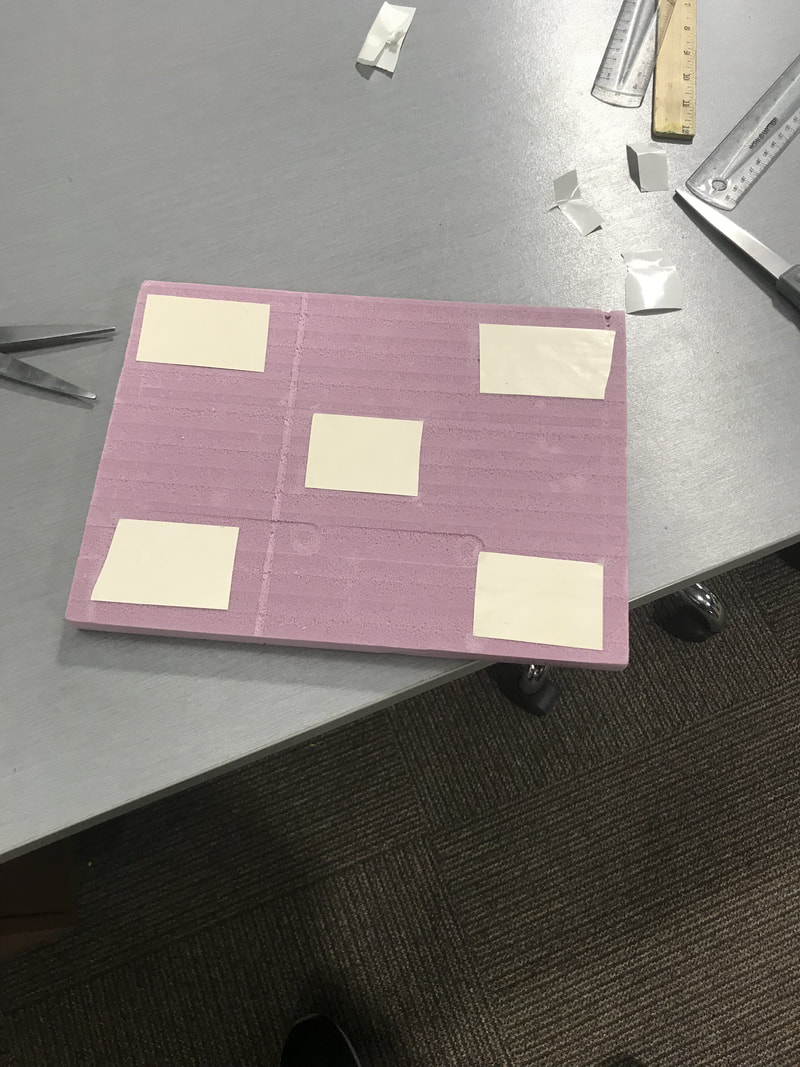
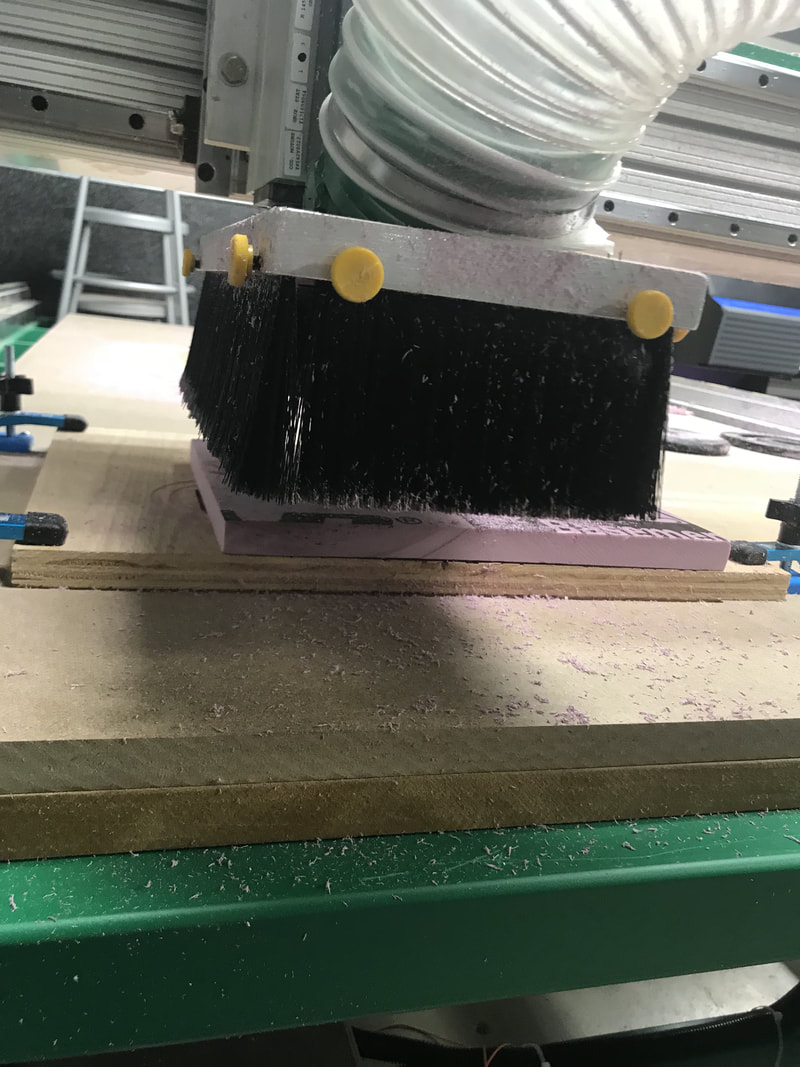
Step 3 router set up and cut out process
Final Product!
What I learned
I learned a lot from this project, one of the things was that I learned how to use inventor better. I still am unfamiliar with the program and this project made me use tools in Inventor that I never even heard about or thought would benefit me on this project. I also learned the basic ropes of Fusion 360 and what the program can do. I learned to set up the router we use fusion 360 to show the machine what tool paths it is going to make during the cutting process. The router it self I thought would be the hardest thing to set up but I got the hang of that and caught on pretty quick. There were many things that I learned throughout this project and the biggest thing I thought was beneficial was learning the short cuts on inventor which helped make my maze in about 10 minutes.
