Inventor
Autodesk Inventor Professional 2016 is a software where people can make a sketch of an idea, part, product, pretty much anything one can think of. The sketches that are drawn can are drawn in 3D where you can change the dimensions of the objects. Inventor will let you sketch what ever comes to mind. After a sketch is drawn, then one can change the files which ultimately a step closer to have a 3D sketch printed. Inventor is a helpful software which can change a product for ever.
How to Draw a Widget
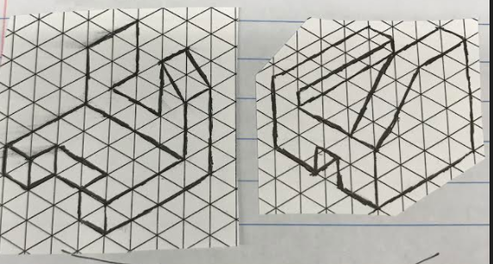
1. Make a sketch of what you want to make in inventor.
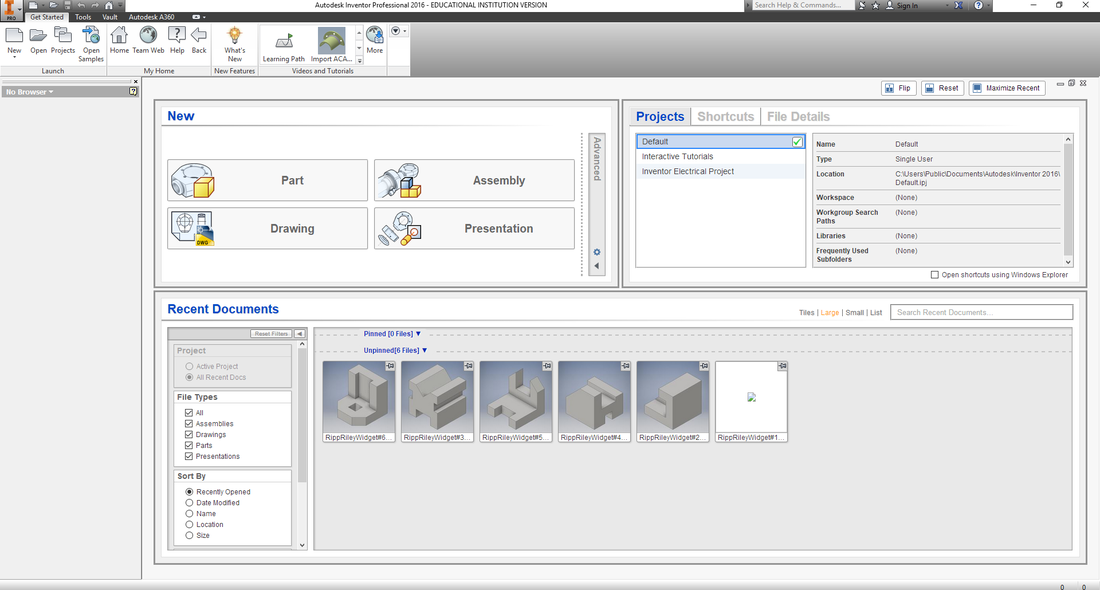
2. Open Autodesk Inventor and select new in the top left corner to create a new document.
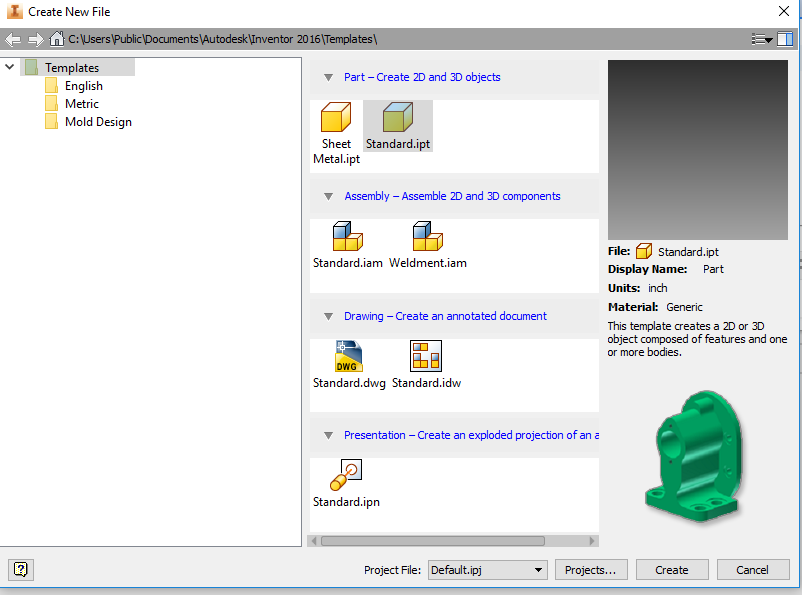
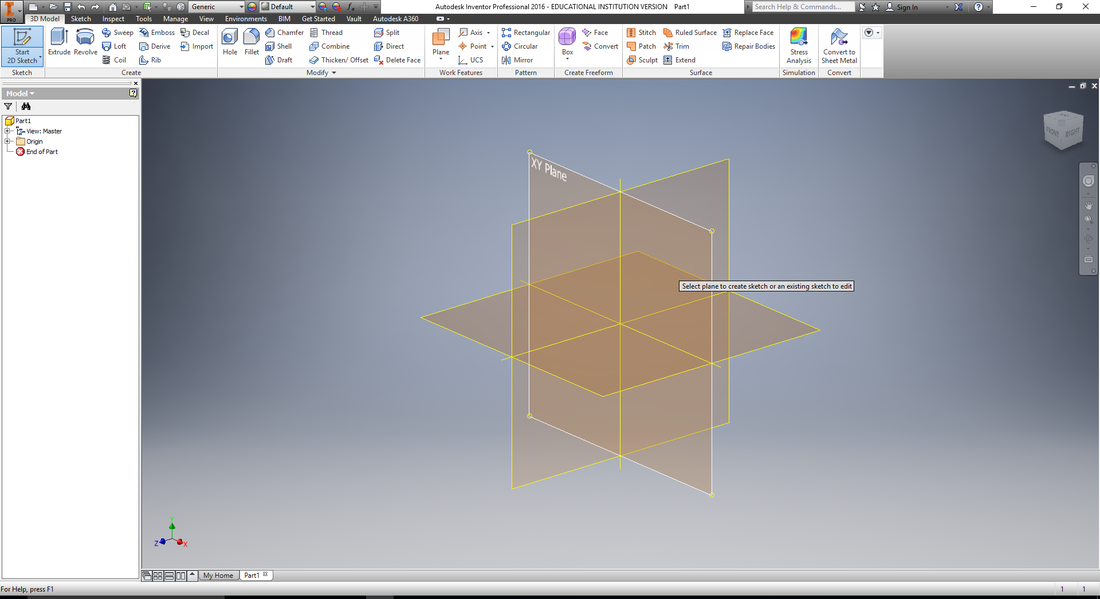
3. After selecting new, make sure you double click on Standard IPT to create the file. It will then take you to a new screen and with the mouse click on the square so you are using the XY plane.
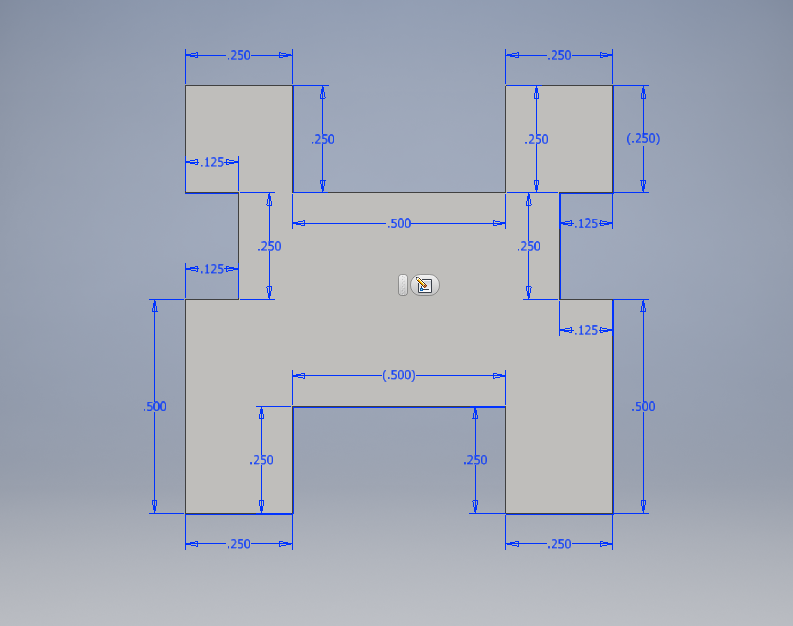
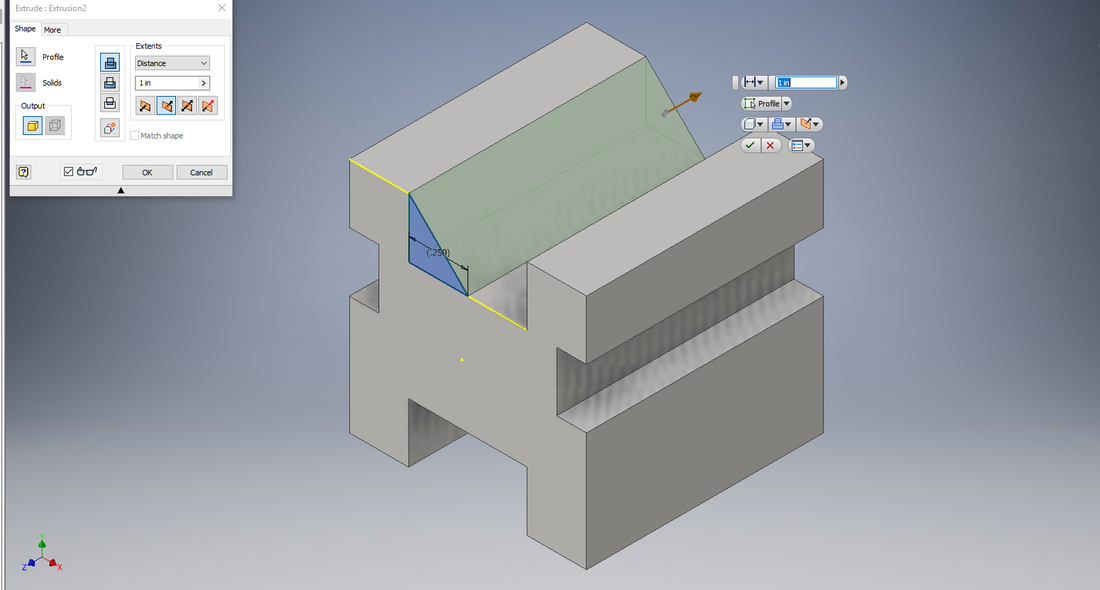
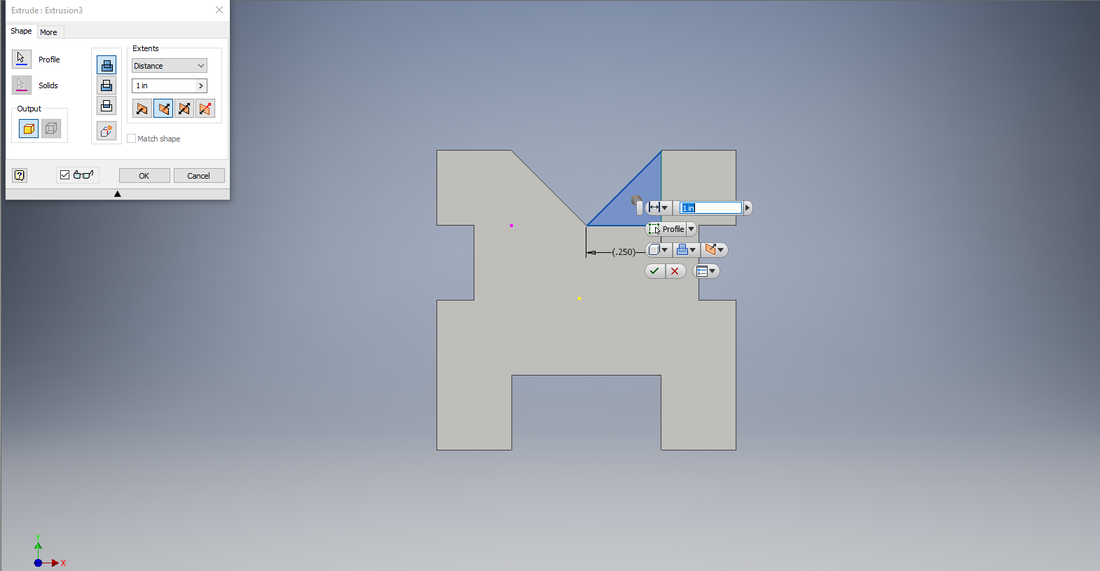
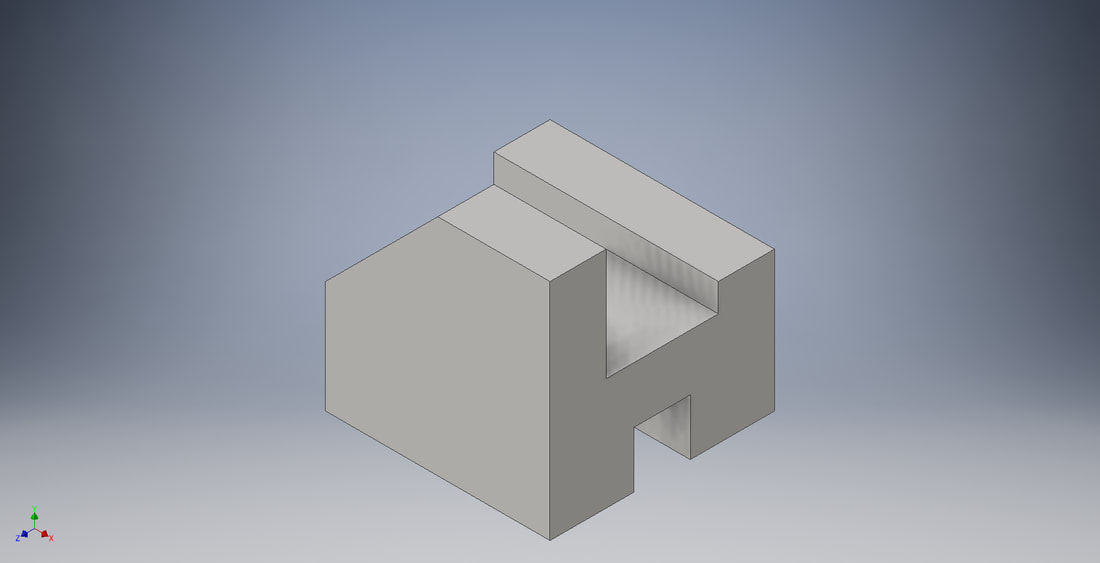
4. After Step 3 then scroll to sketch and select line. For my widget I chose to draw widget number 3. I then drew a rough sketch of what it looked like. After drawing it I changed the dimensions making it the right size. After that I scrolled to the extrude button and I extruded the image 1 inch to make it 3D.

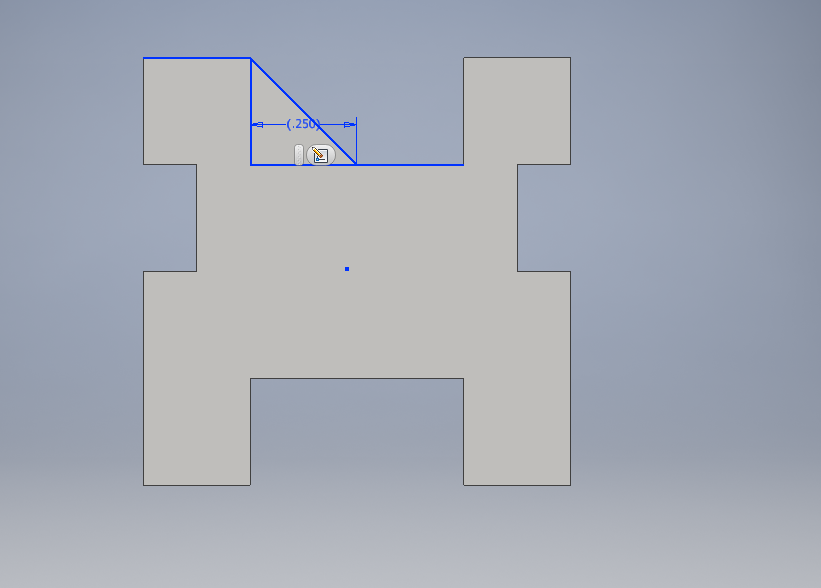
5. I then had to draw in a triangle in the object to fill in the top more. I then extruded this an 1 inch.
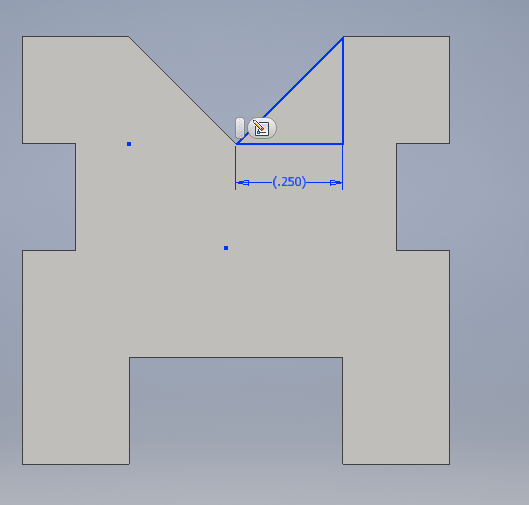
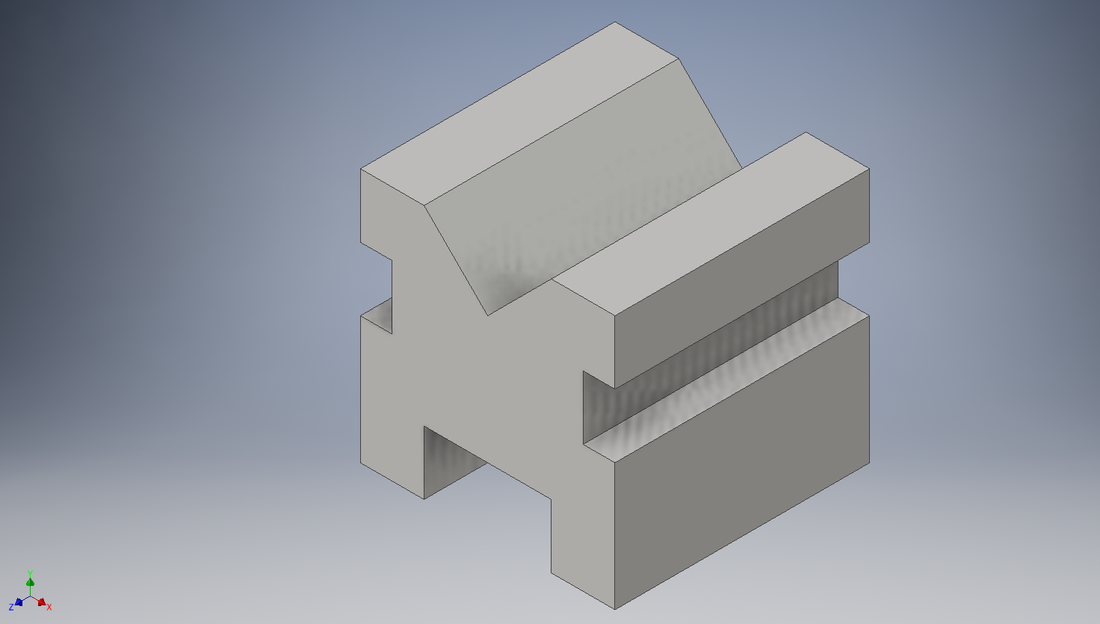
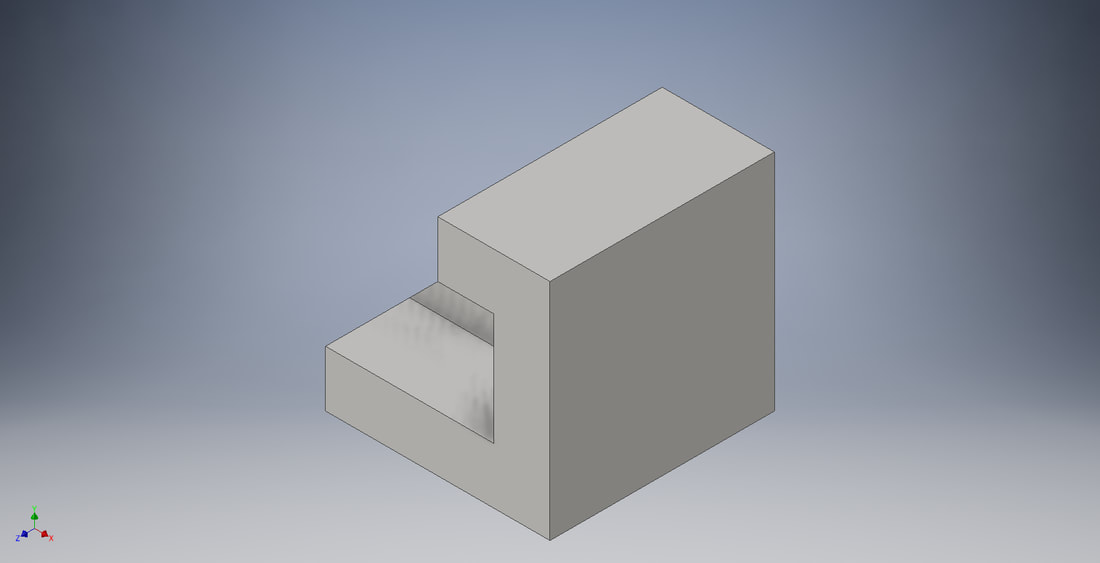
6. After doing the left side I did the same with the right side.
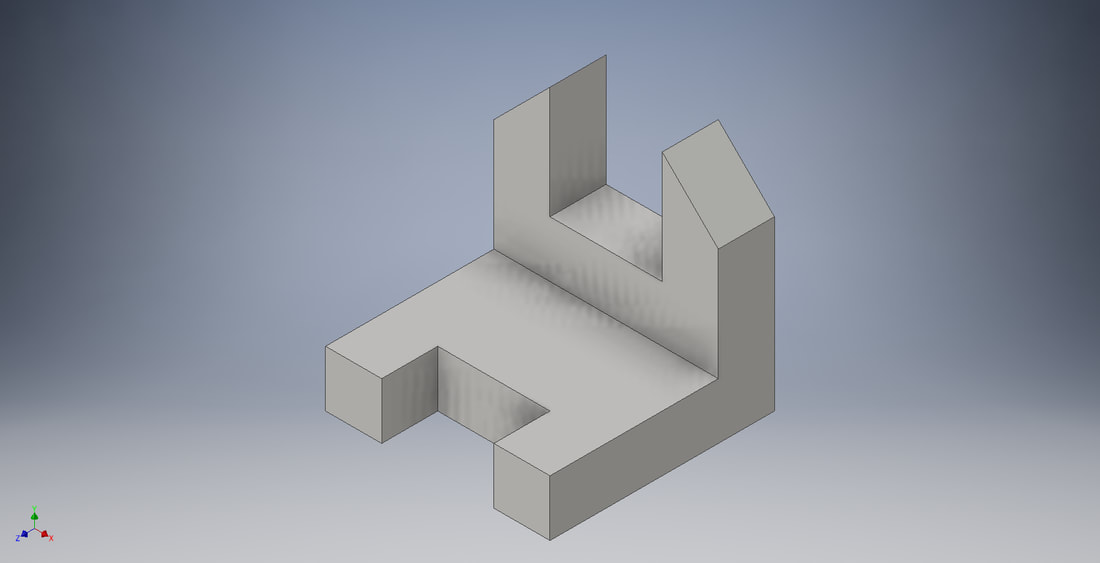
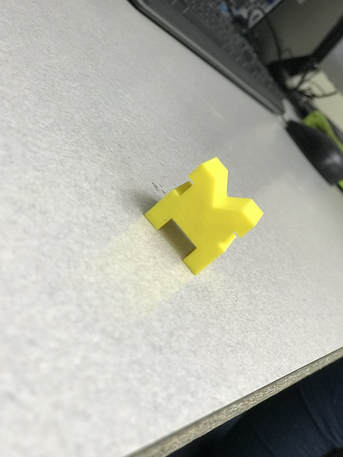
7. After everything was done this is the final product.
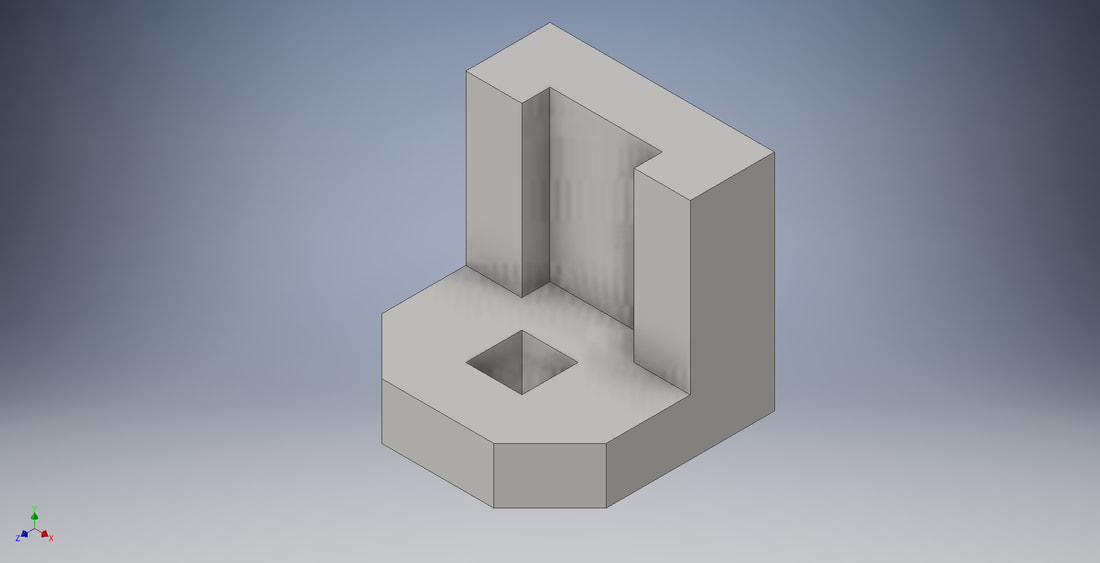
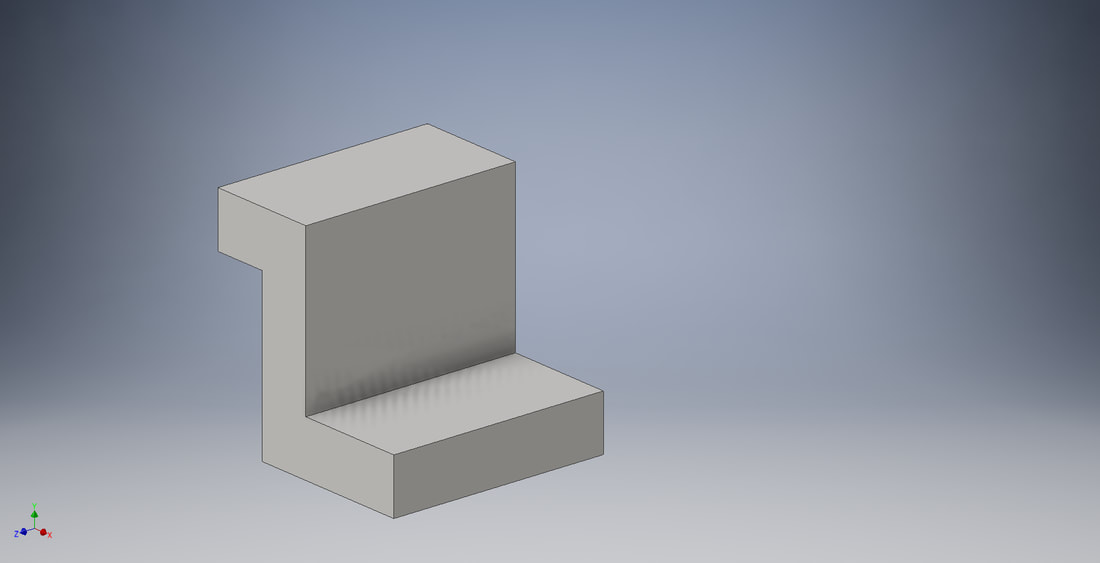
Other Widgets
3D Printing with Makerbot
To 3D print objects we use a software called Makerbot Desktop. I first exported the inventor file to an STL file. After that you can upload your file into Makerbot.
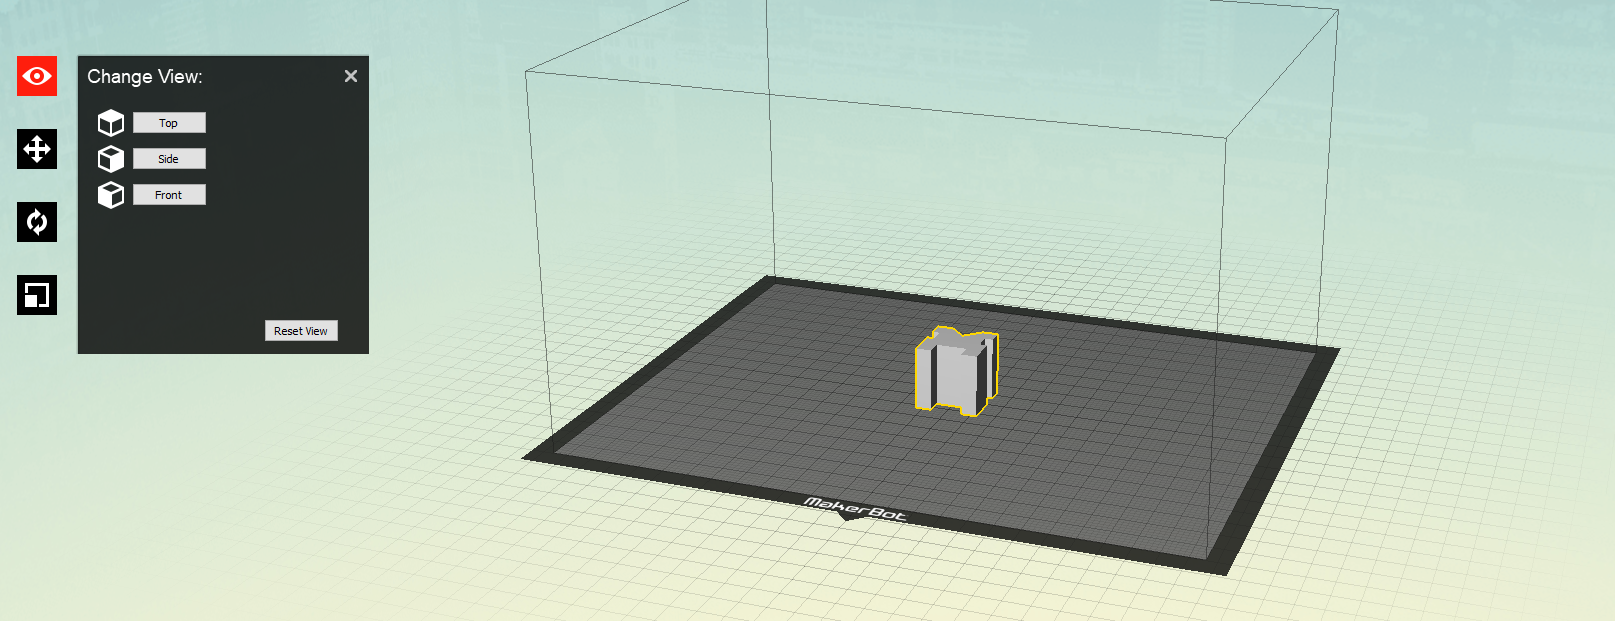
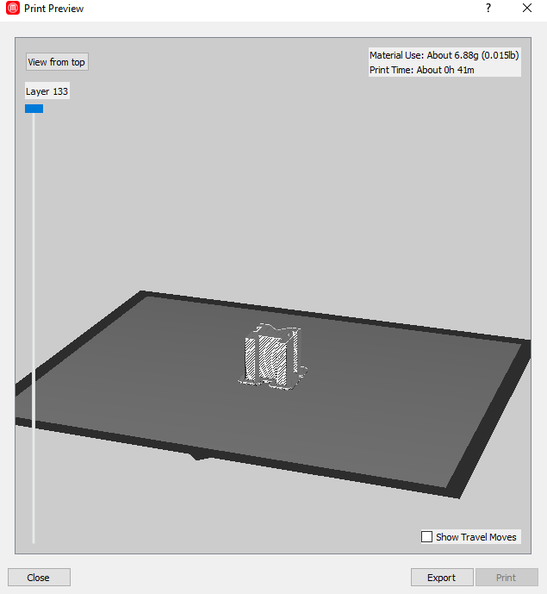
After this to 3D print you are going to want to preview it. This will tell you the estimated time and the material use.
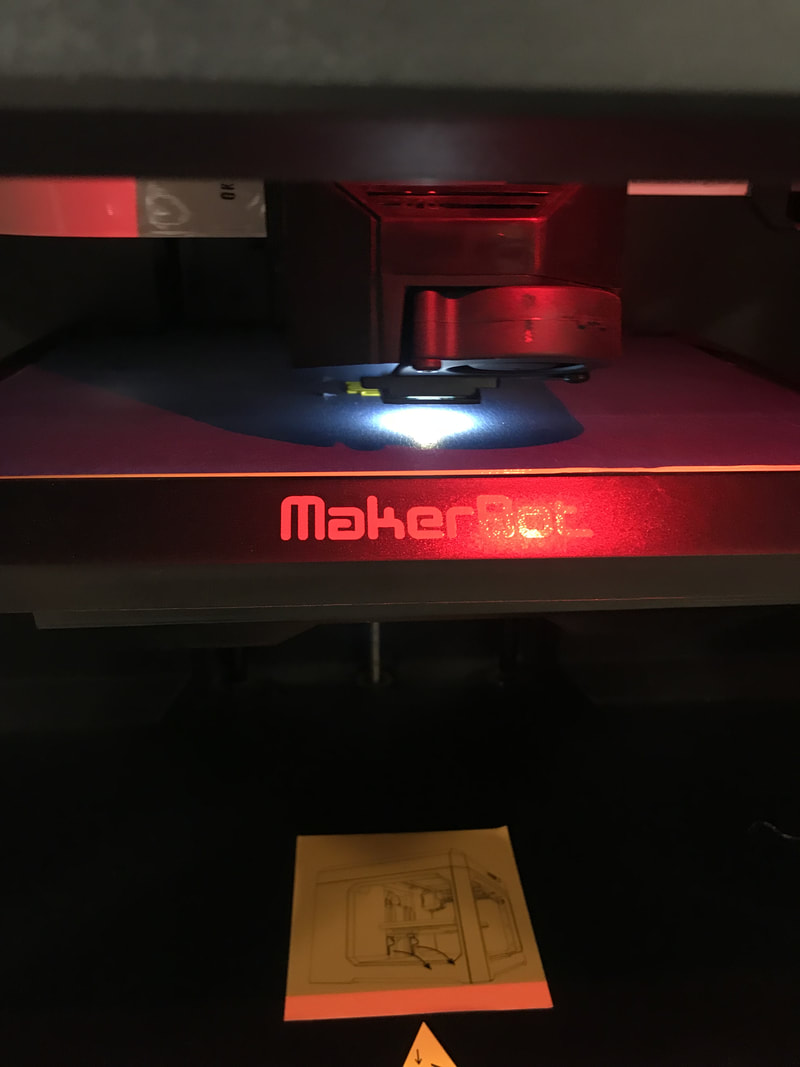
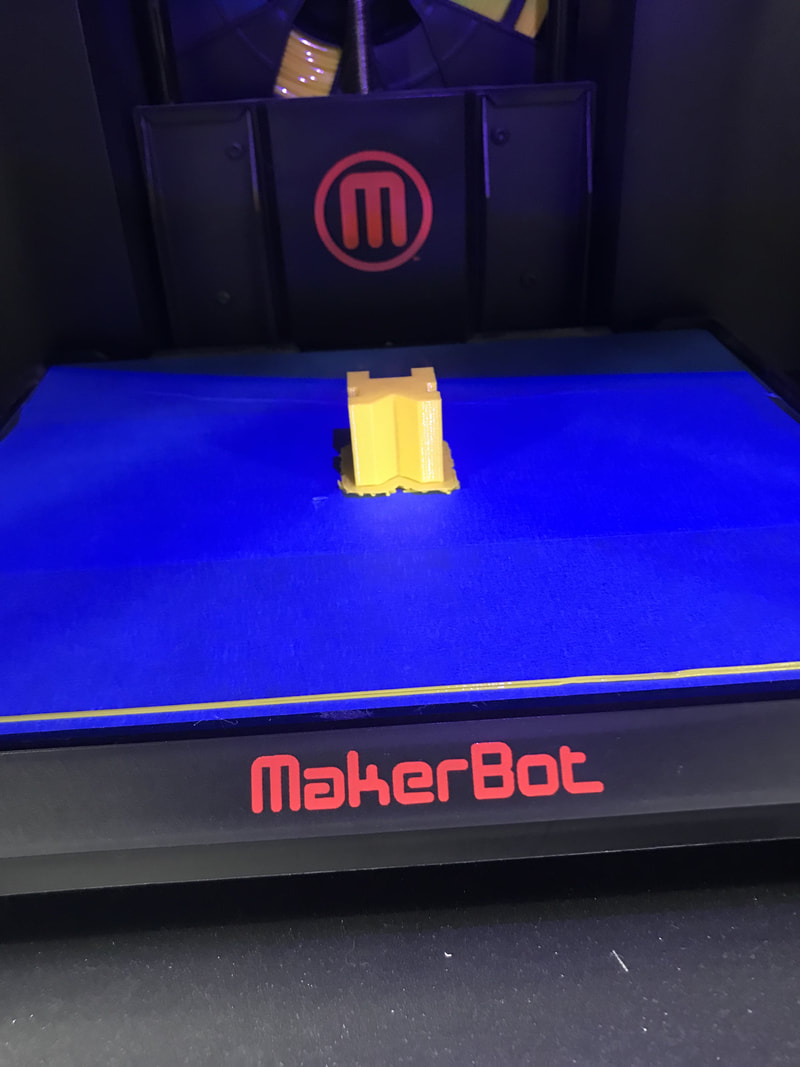
After this you export it to a USB flashdrive where you can then take that USB file to 3D printer. At the 3D printer I inserted the USB and I found the file from the USB which I then took and clicked print. The printing process then begun.

Final Product
What I learned
Basic things that I learned from the introduction to inventor was how to construct 3D objects, convert objects so they can be printed, and how to run the 3D printer. Before the class begun, I wasn't very familiar with the program since I haven't used it since 8th grade. Making the widgets really got me back into the program and now I feel comfortable making anything. It was also awesome learning to use the 3D printer. I learned how the machine works and how to get a idea from the computer to the printer. It was nice learning how to use the software's and I am excited for whats to come.
