Laser Engraver
Notebook
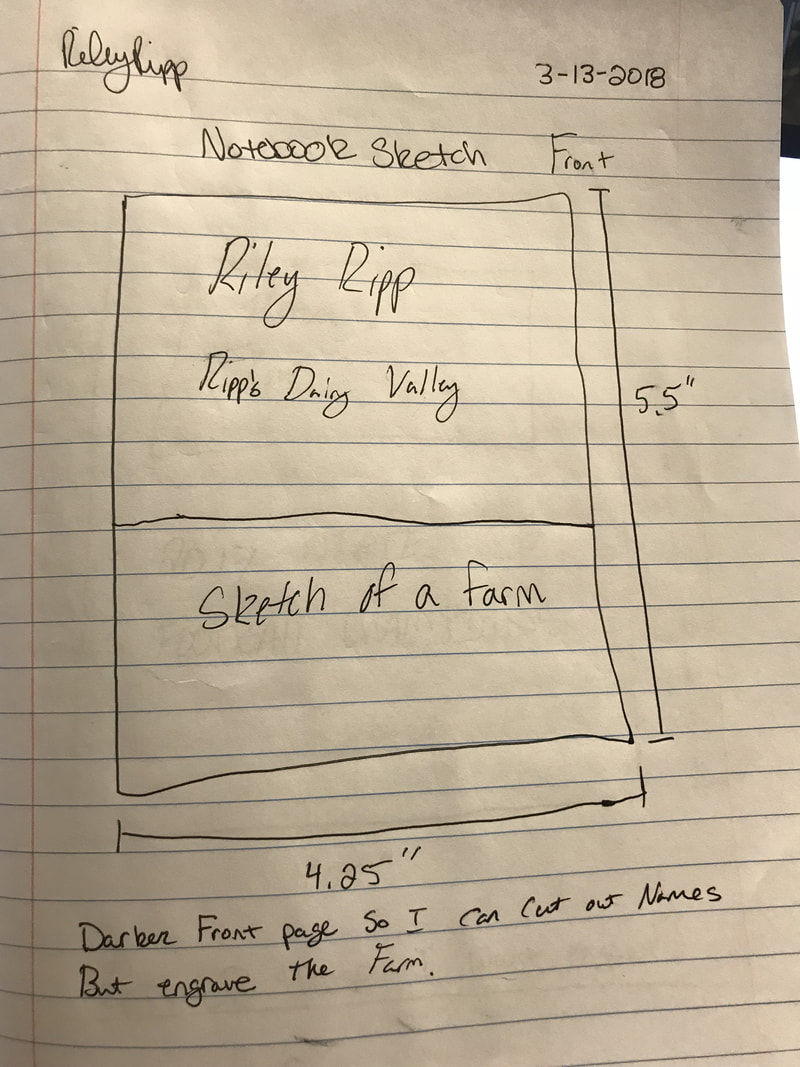
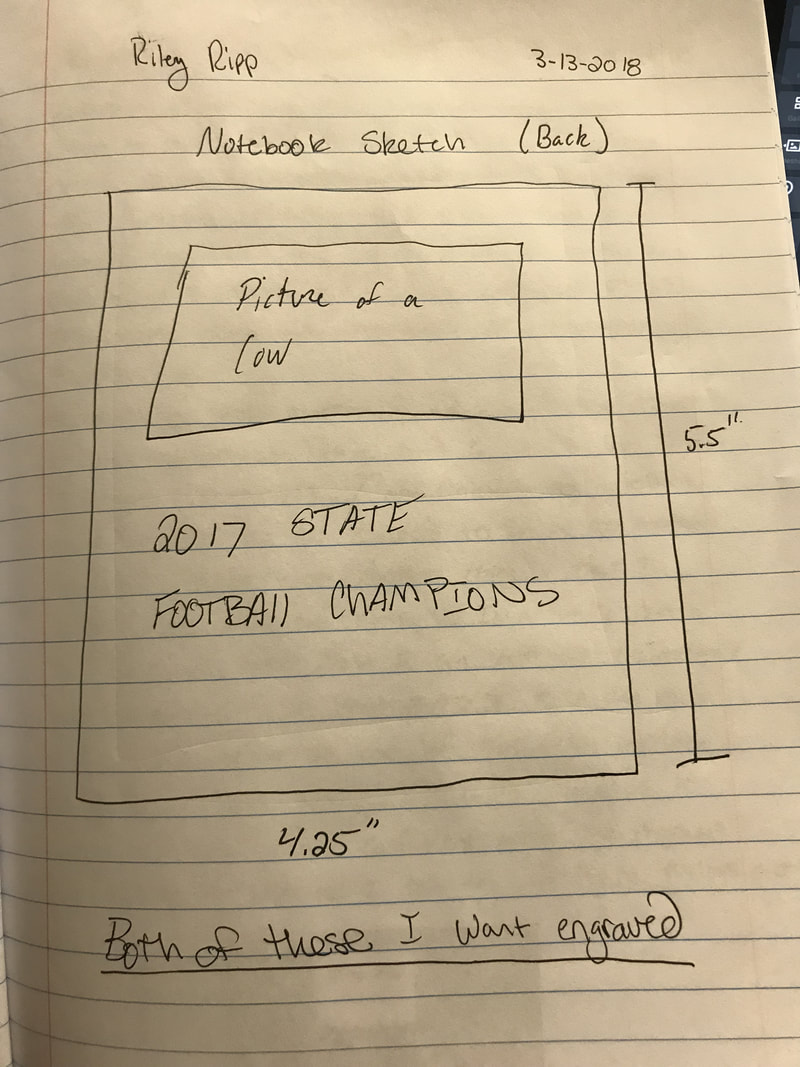
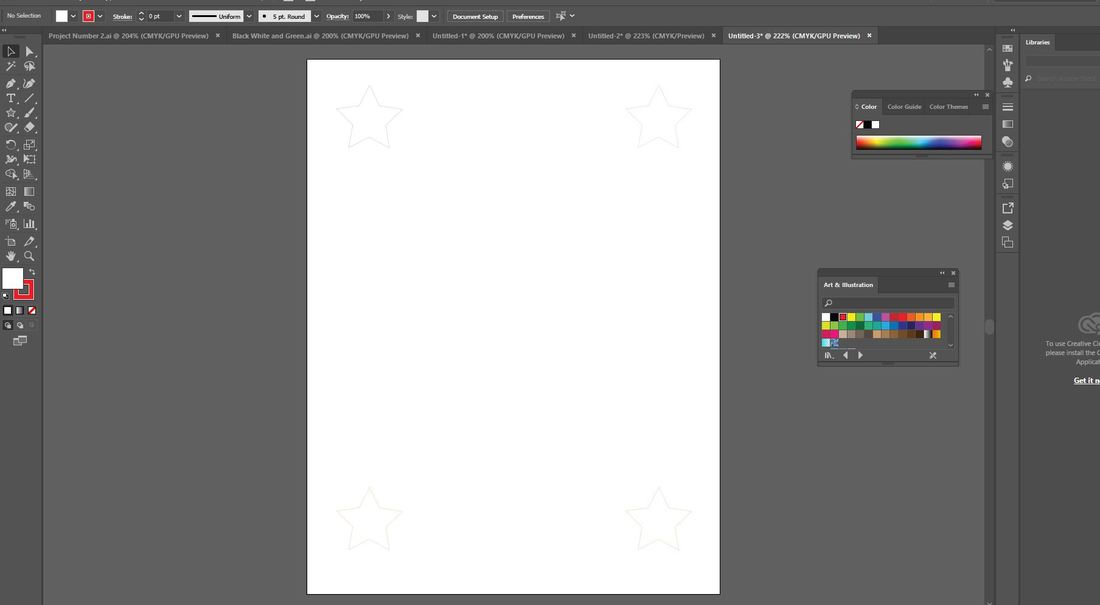
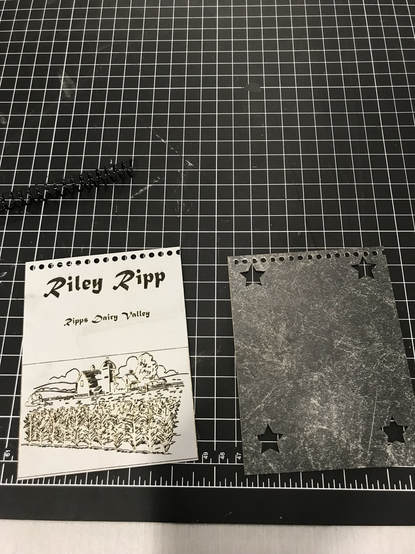
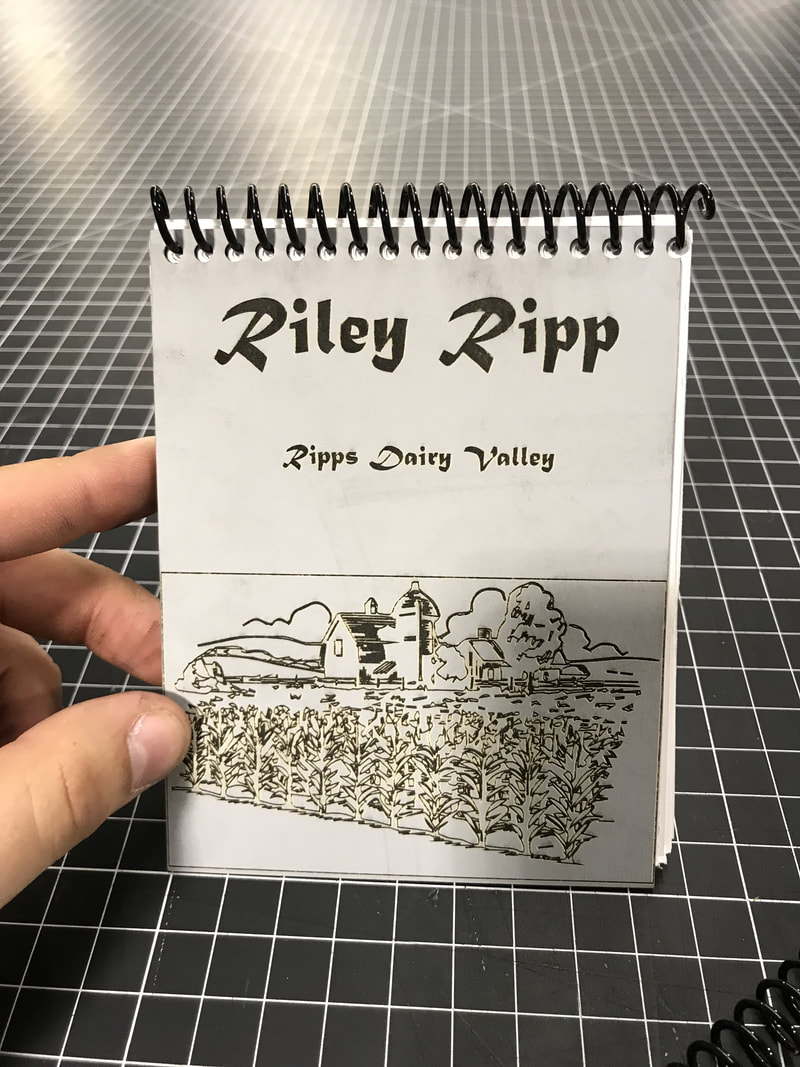
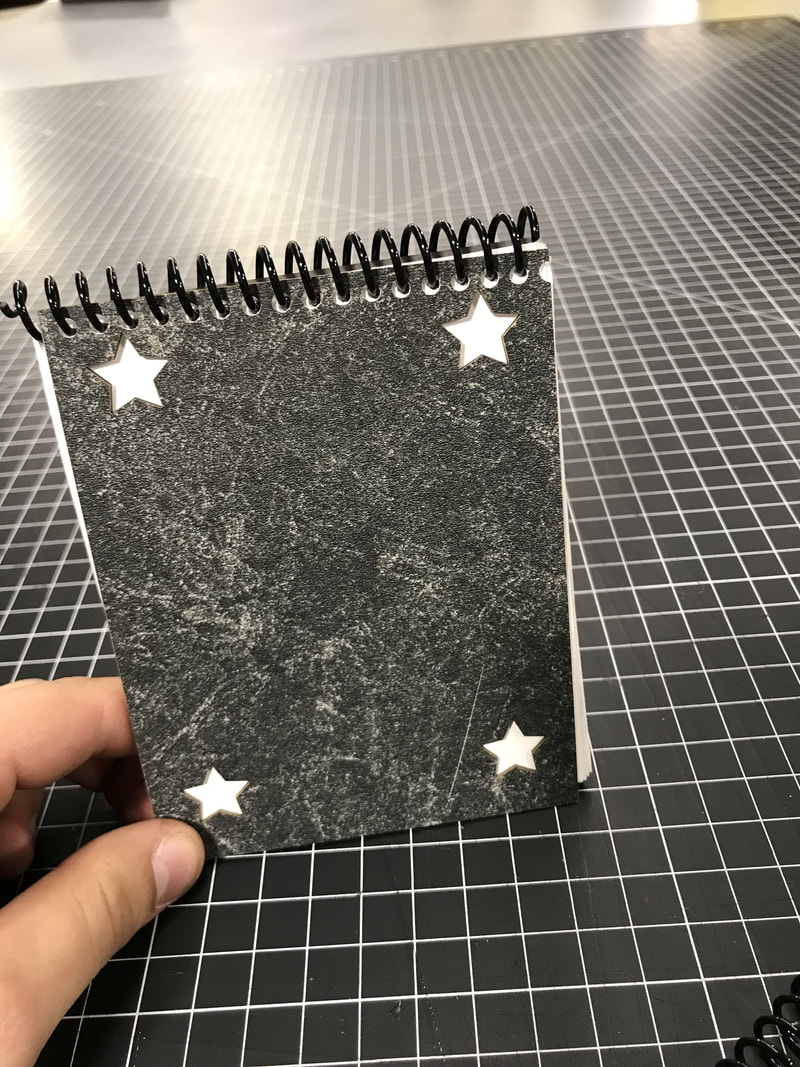
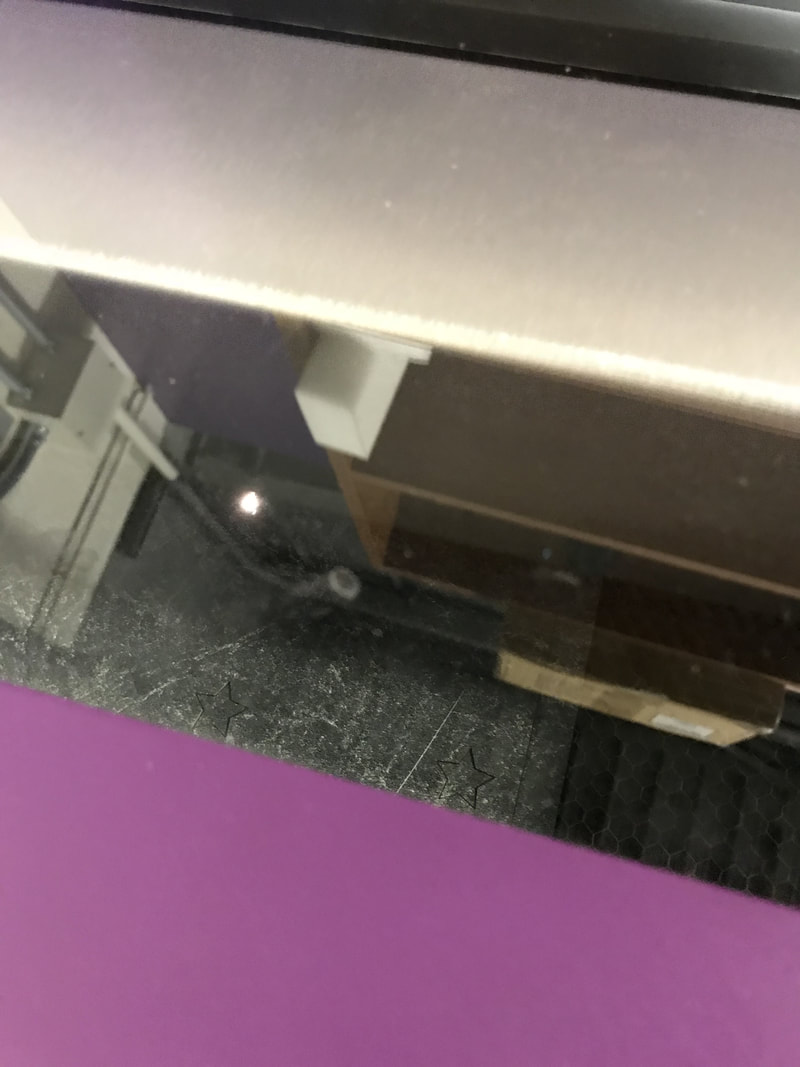
For the notebook I wanted to create a 4.25" wide by 5.5" tall notebook that described the farm. For my initial sketch in my designer notebook I created a sketch where I had the front of the notebook as a farm. Above I wanted to put my name and below I wanted to put some sort of farm. On the back of the notebook I wanted to be able to put, 2017 football state champions and some sort of picture that describes a farm or something. After some thinking I decided to keep the farm and the name on the front cover, but the back I decided to put 4 cut out stars. I did this because I learned that cutting out letters doesn't look as appealing to me, but it would have been vary possible for me to do. After cutting and engraving the material using the laser engraver, I put some paper inside of the notebook and put it all together using a spiral plastic piece.
Initial Drawings
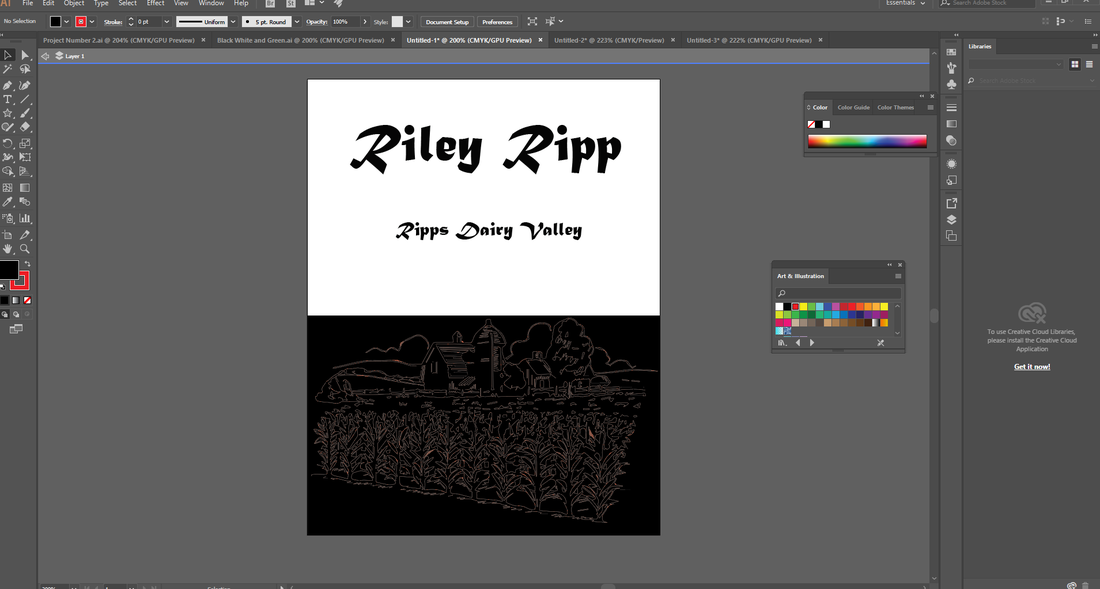
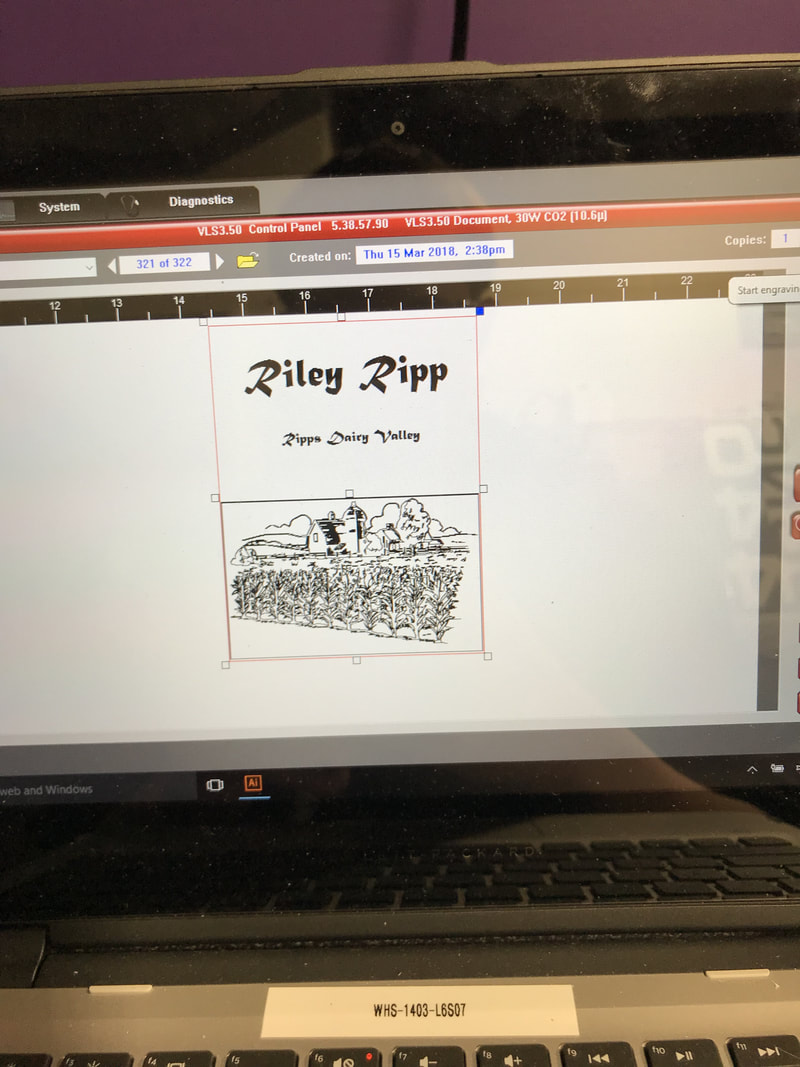
Sketches on Computer
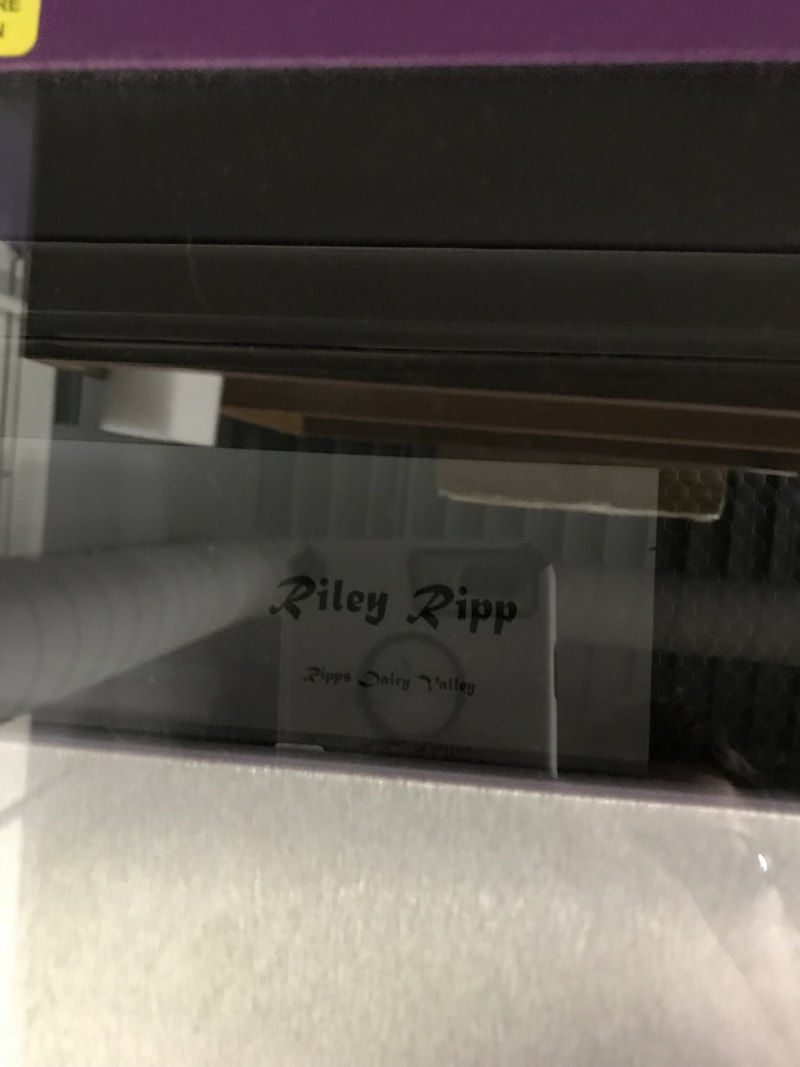
Laser Process
All Pieces Cut Out
Final Product
Water Bottle
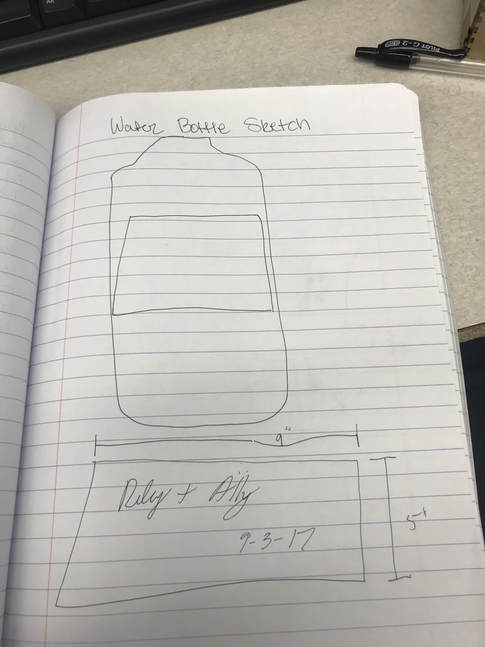
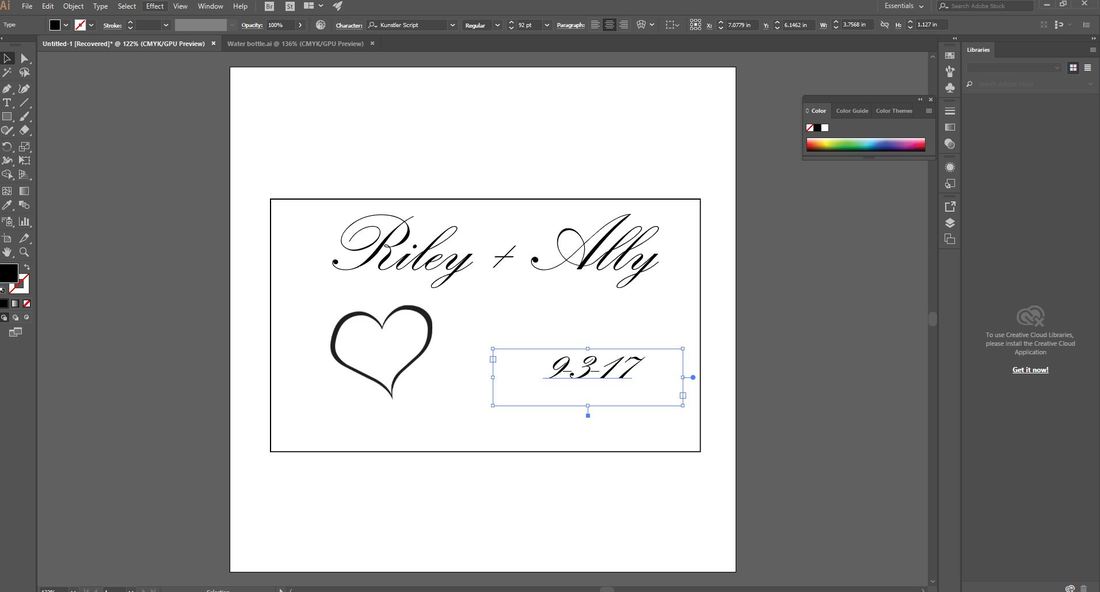
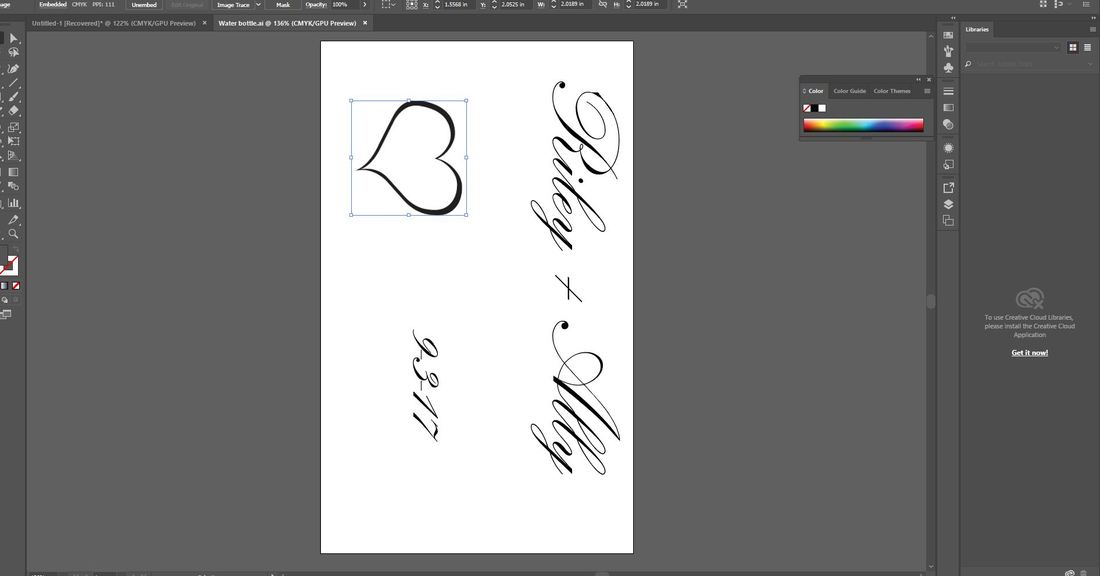
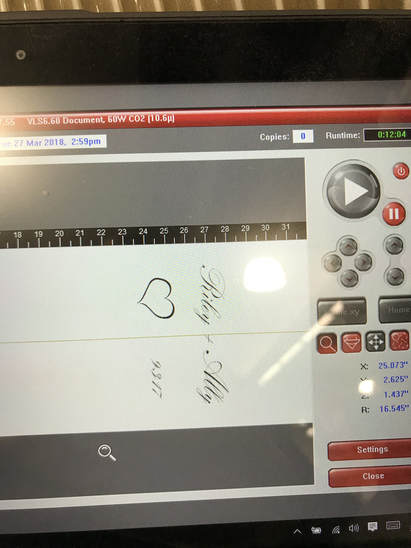
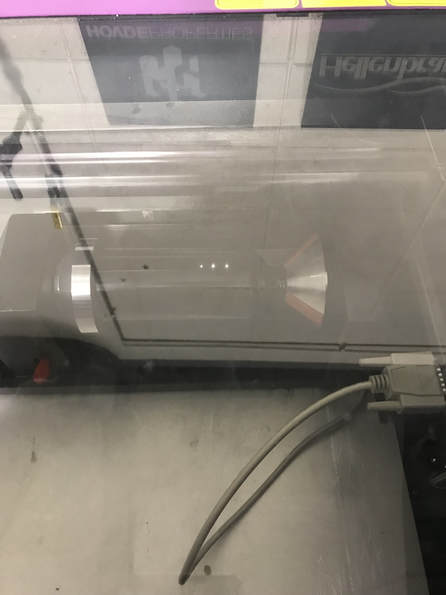
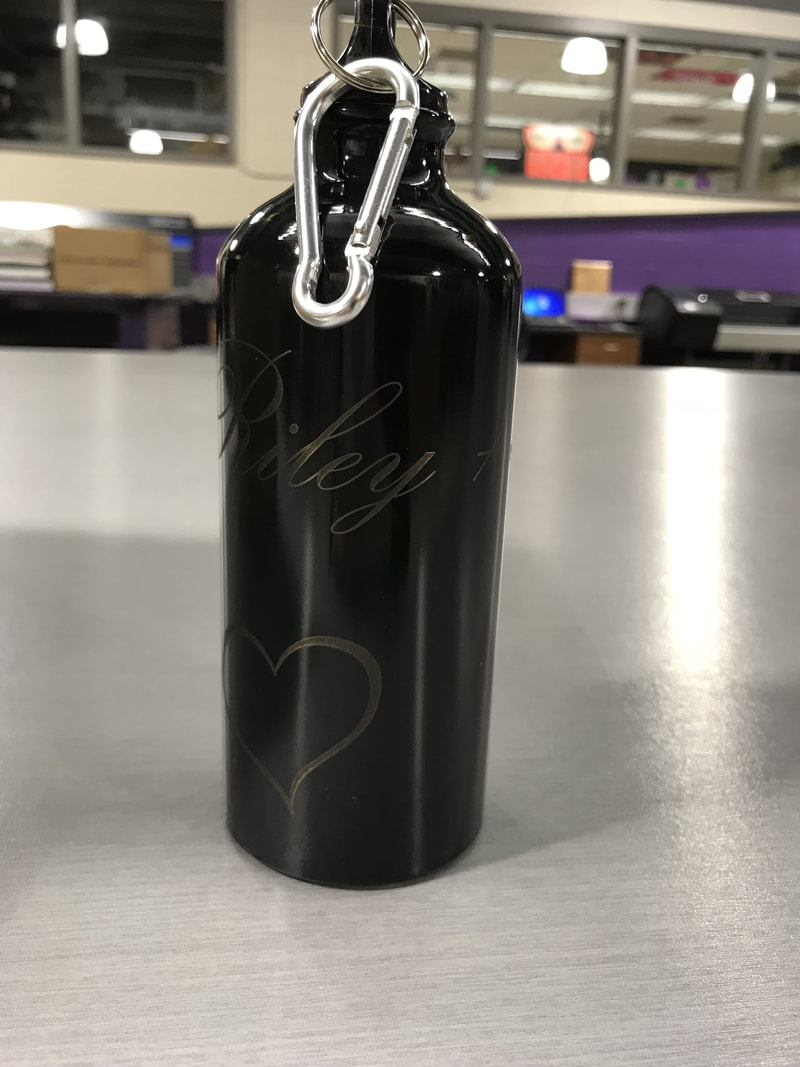
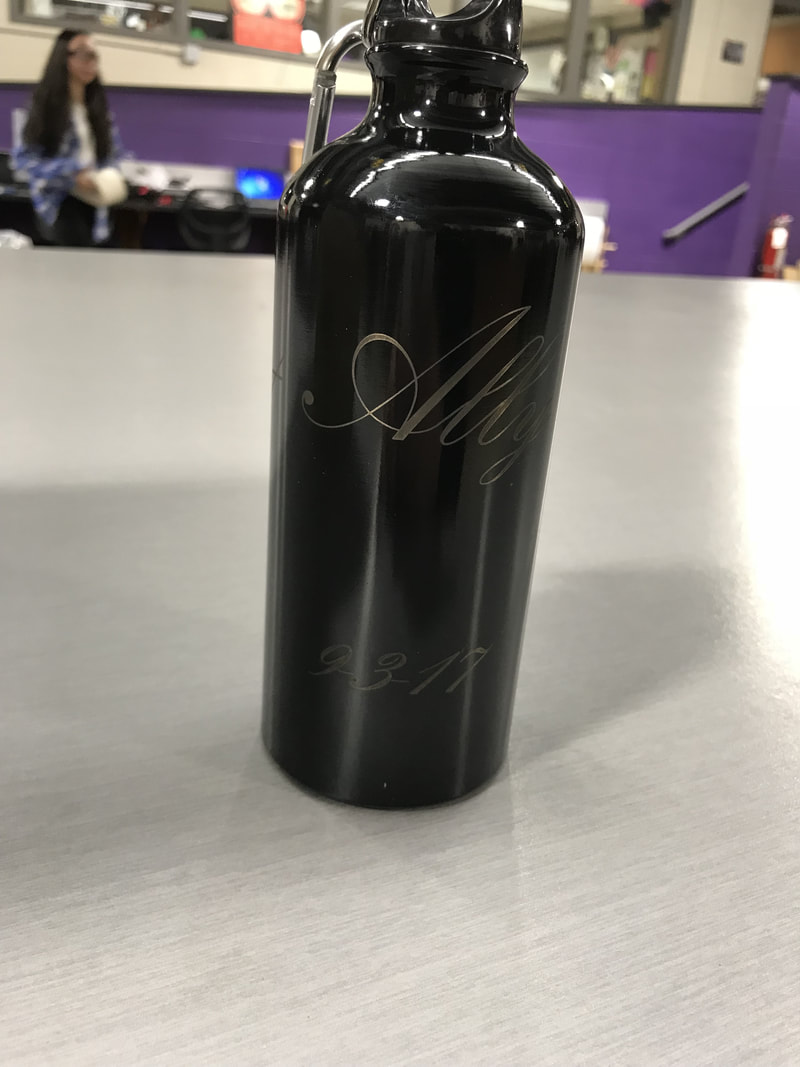
The water bottle phase of the laser engraver, I wanted to create a design that would essentially turn into a gift. So I started out on illustrator making the sketch and I needed to create a design 9"x5". I already had an Idea of what I wanted to do and it turns out my first idea is what I went with. So after making my design on illustrator I needed to insert the rotational jig into the laser engraver. I then had to line up the water bottle so it could spin easily. After setting up my water bottle my had to change the design so it was rotated 270 degrees so the laser would engrave it on the edge of the water bottle. After that I had make sure all of the settings were correct and I started to engrave it.
Initial Sketch
Design on Illustrator
Engraving Setup
Engraving Process
Final Product
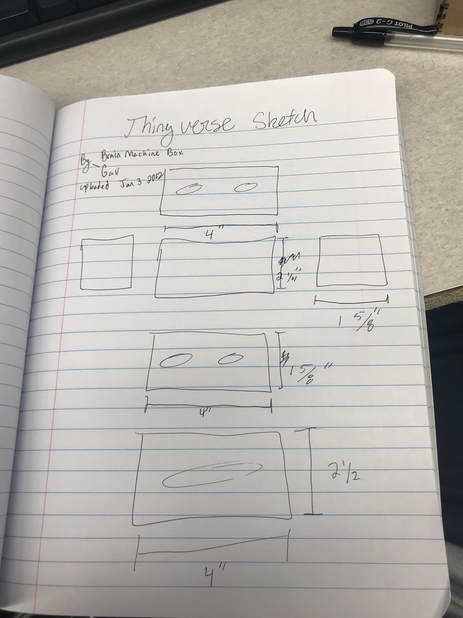
ThingIverse Project-by Brain Machine
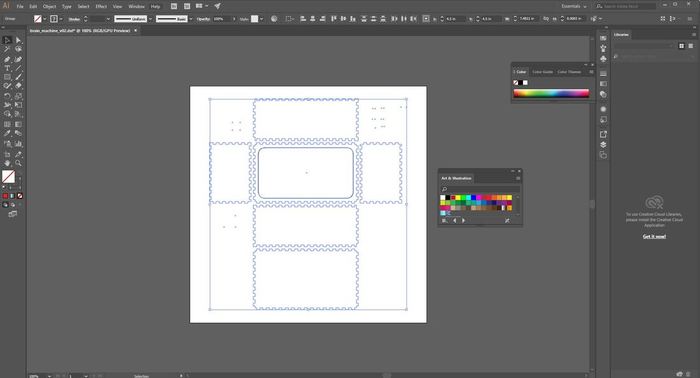
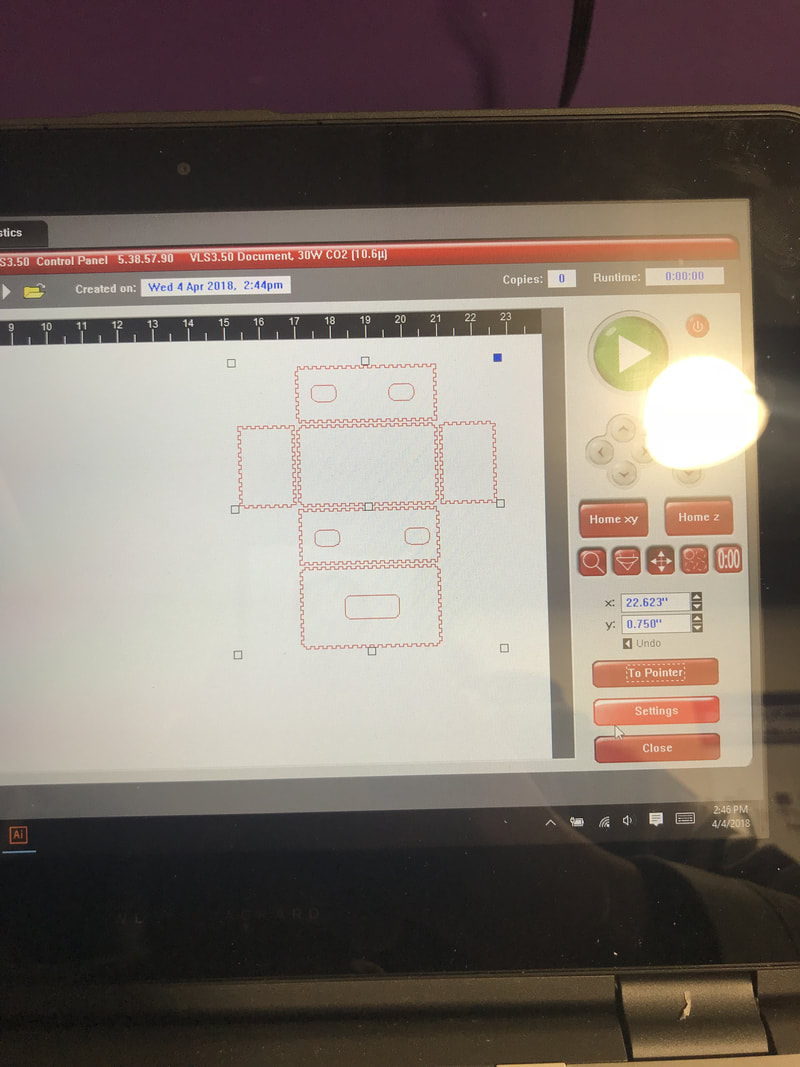
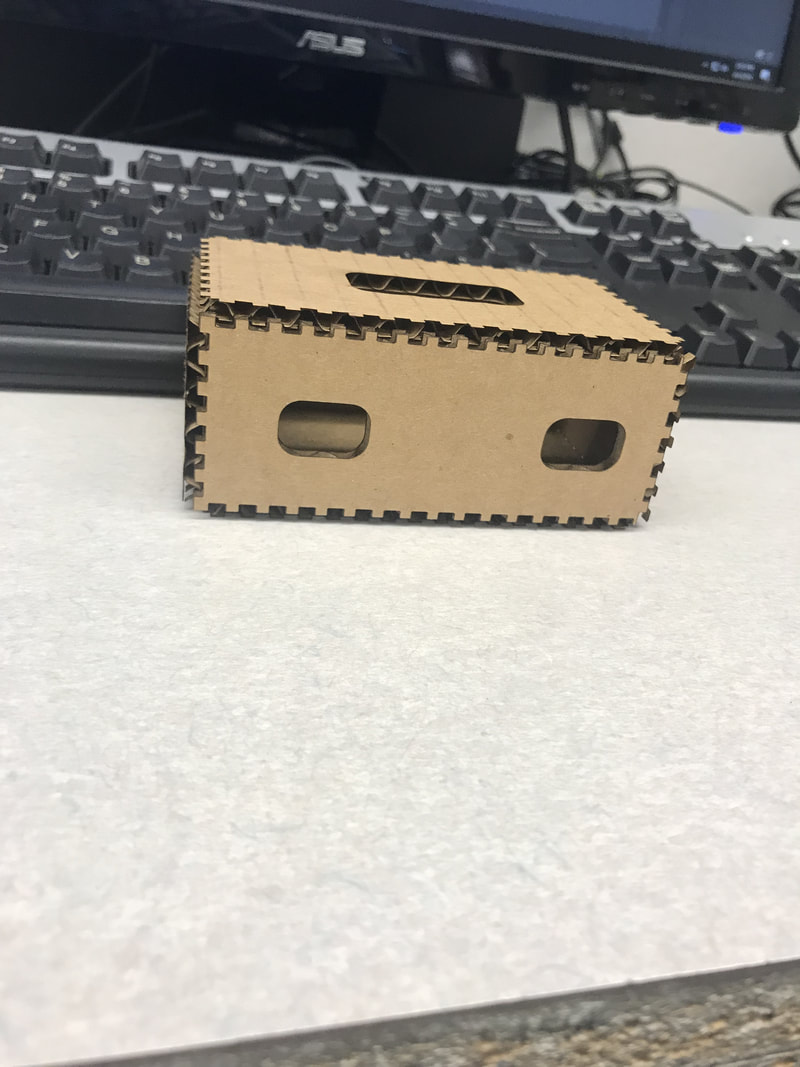
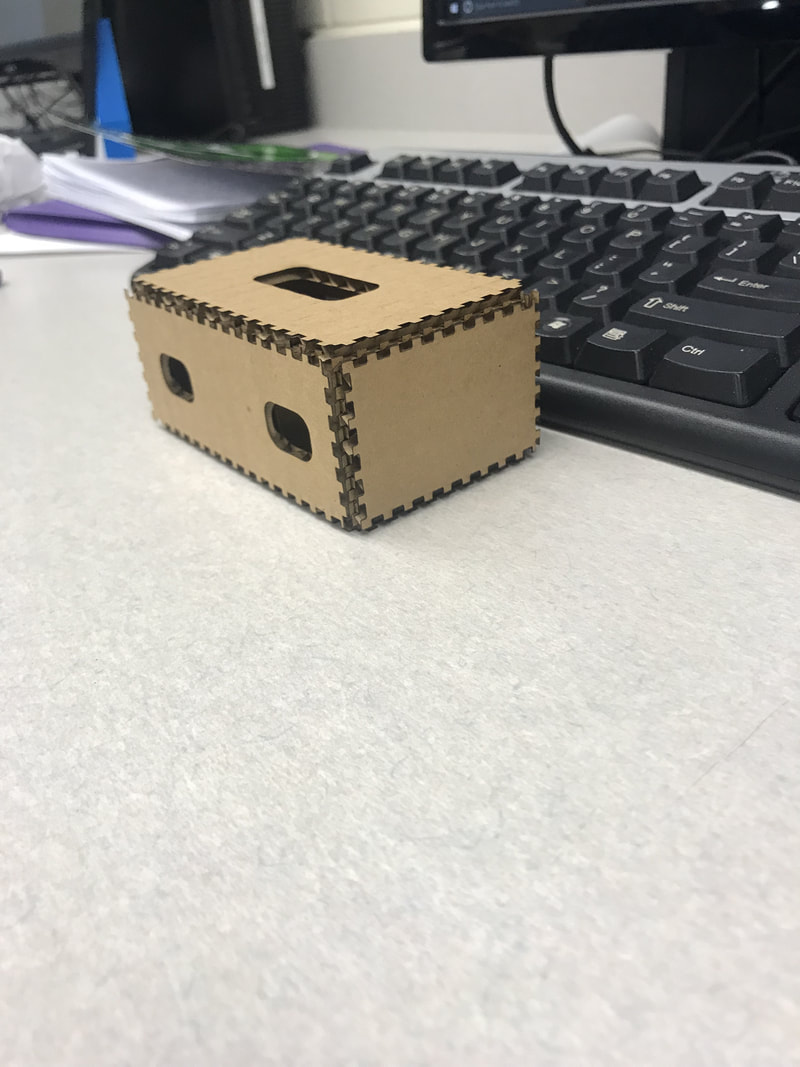
For my ThingIverse project I really had no idea what I wanted to do. I then decided I should do a box. I then found a design made by Brain Machine. This box had little grooves cut out so it would fit nicely together. I wanted to modify the box a little to my own so I decided to cut out some holes. I then decided this could become a little coin box for special coins. After I figured out what I wanted to do I took the sketch that Brain Machine previously did and imported it into Illustrator. After changing all of the lines to the proper width and correct color, I inserted some holes. I then took this design down to the shop and start cutting it out. I then set up the machine and began to cut. The design turned out the way I wanted it to in the end!
Designer Notebook Sketch
Illustrator Sketch
Laser Engraver Setup/Cutting Process
Final Product!
What I learned
With these projects, I became more familiar with the laser engraver. I was also satisfied with all of my projects because I learned how to outline clip art images and change the colors of the lines. I also learned how to use the rotational jig and how to set up the laser engraver for engraving round objects. Another thing that I learned was that I needed to learn how to modify my projects so they do not start on fire. The trick was to either make the width between the cuts larger or to just delete them. Lastly these projects don't just help ideas and learning how to use the machines better. This rotation makes you be smart with your time because of the availability of the machines.
