What is Illustrator?
Illustrator is a software where you can draw 2D sketches to later turn them into cut out objects. Illustrator allows you to sketch a drawing to the exact dimensions. You may also free hand it. In order for you to operate the program, illustrator has a ton of tools to make the drawing experience easier. With these tools you are able to create, icons, labels, logos and many more! All in all, Illustrator is a helpful software that makes the drawing experience easy.
How to use a Laser Cutter
I first started out by opening the program, Adobe Illustrator. From then on I went in the top left corner of the software and selected new, so I could create a new document. From then on a little screen will pop up and you will want to scroll over to the print option. This is where you can change the dimensions of the whiteboard. For my white board, I changed the dimensions to inches and my whiteboard was set to 8.5 wide by 11 high.

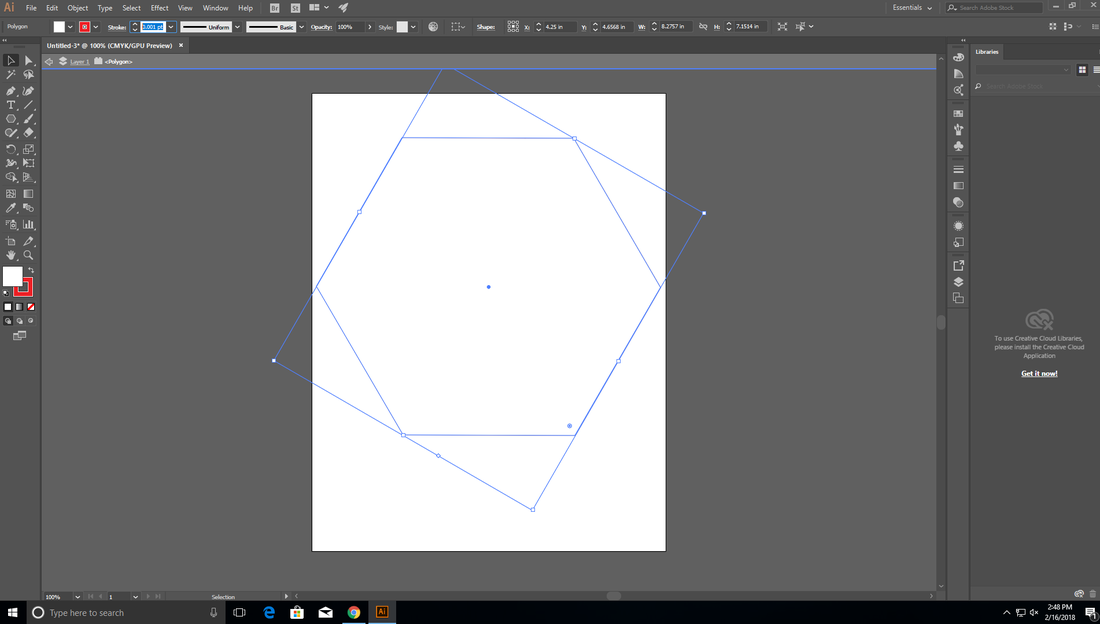
After setting up my white board I then used the tools on on the left hand side to draw my sketch. I used the polygon tool to draw a hexagon where I later put my image in. I then had to make the outside lines of the polygon RGB red. Red is used for cutting and blue is used for engraving! This makes it so you can cut it out on the laser. You then want to make sure the polygon is selected and change the line so it is .001pt. This makes the cutting line smaller.
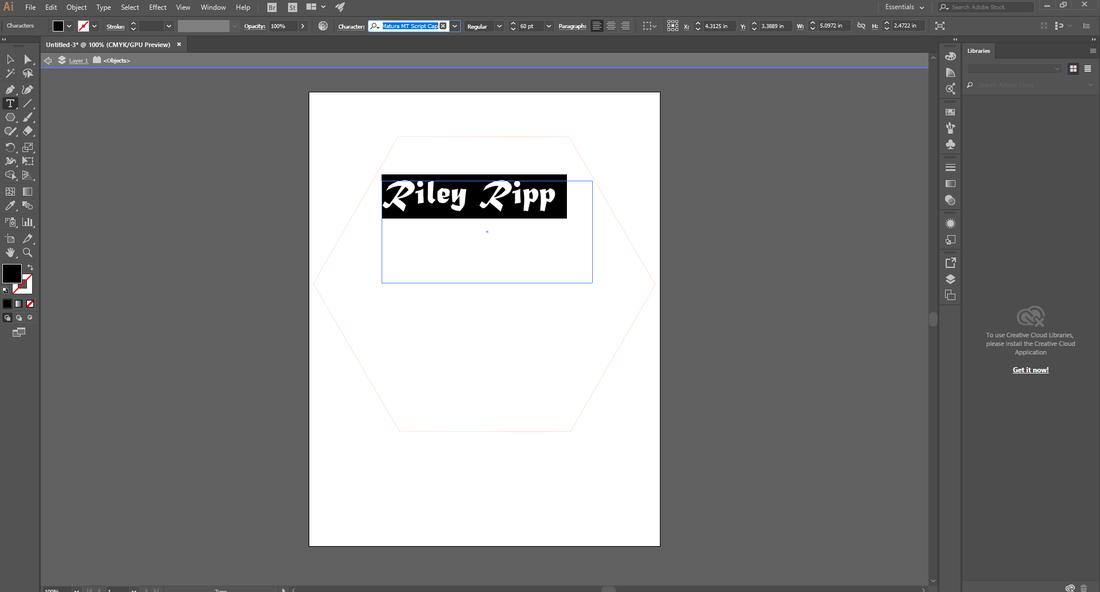
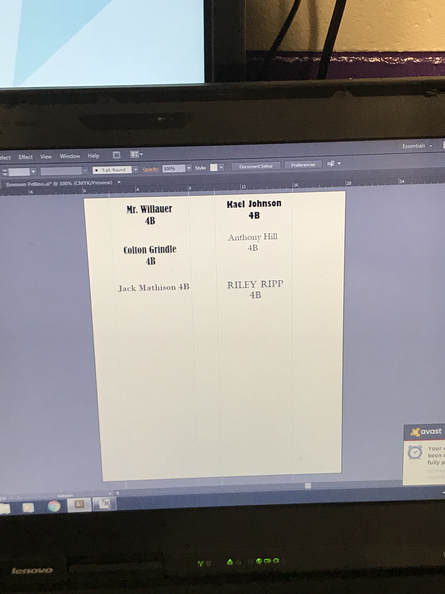
After creating the shape for your drawing, I put some text into it. Scroll over to the text button and then click into the polygon. From this point you can type anything you want into the sketch as long as it stays inside of the red lines. You also can change the fonts and size of the fonts above. You also can add pictures and other things.
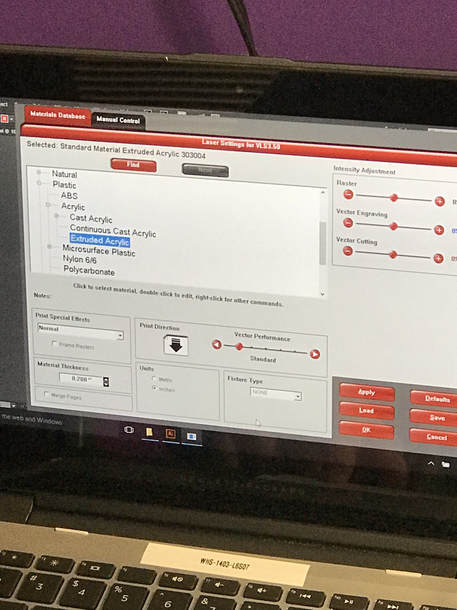
You then save the file to a flash drive and then bring it down to the computer that is hooked up to the laser. Before you start the laser you need to turn on the exhaust. You then upload your file on the computer. After up loading the file, you want to change the settings of the laser. This is found under the print tab and under the preferences. You then change the thickness of the material and the type of material.
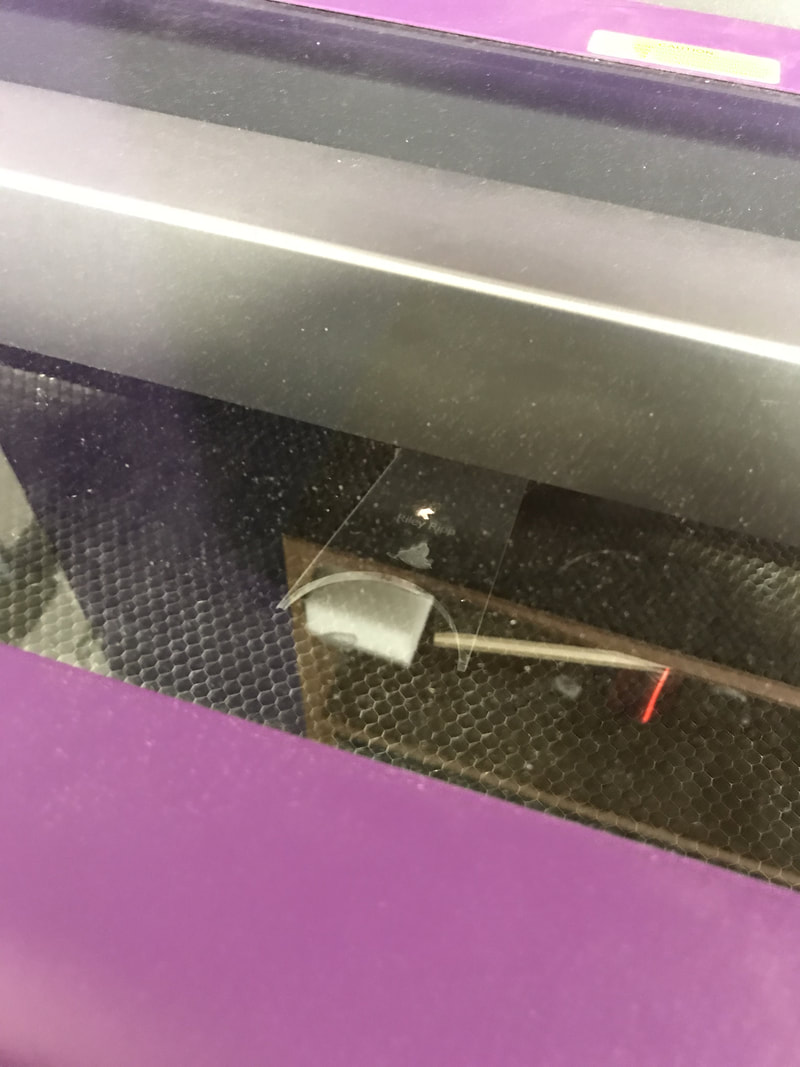
After applying all of the settings you are going to want to open up the software UCP where the file will be. You then put the material into the laser bed and with the controls, adjust the laser so it will cut on where you want it to. After all of the settings are set to where they should be press print and watch it go!

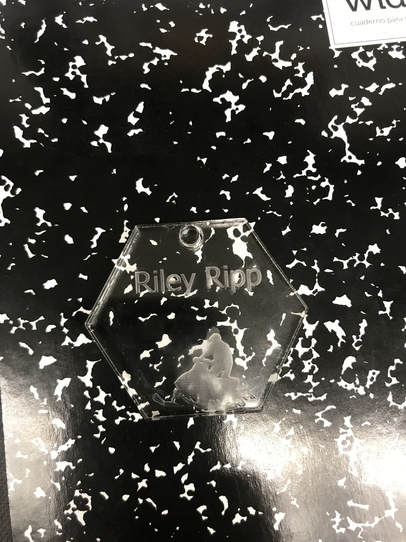
Here is the final product!
How to use the Vinyl Cutter.
On the computer down in the shop, I designed my name in and then I went to... to make it print.
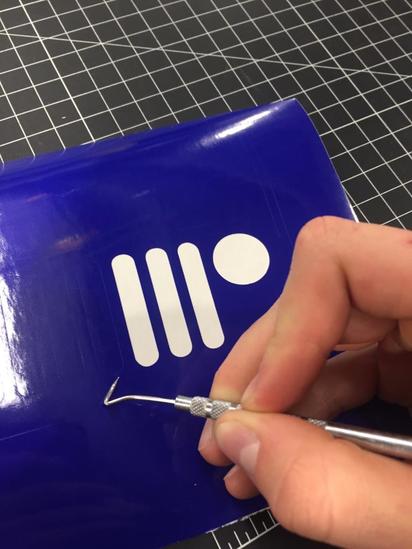
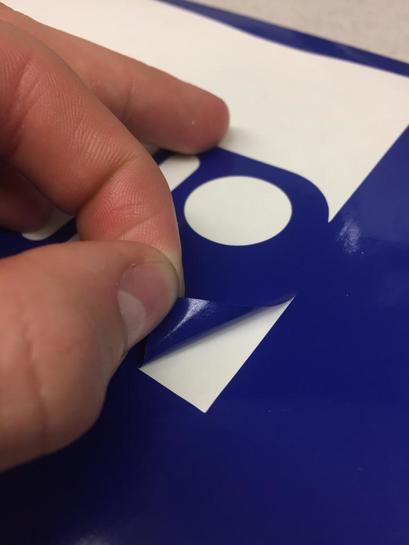
After resizing the machine to make it a perfect cut, I then used a knife to cut off the extra material. I then moved to the stage to put the decal on something. First I had to remove excess material away from the letters.
After taking away excess material, I used masking tape on top of the lettering to take the lettering off of the vinyl sheet. This is then peeled off onto the surface you want to attach it to.
After applied this was the final product!
What I learned from this?
There are many things to learn when using these high tech machines/software. One of the things I learned about this is that we can make simple or detailed 2D sketches on Illustrator and then turn them into logos, shapes, etc and put them on 3D objects. For example I cut my key chain out on the laser and put detail onto a acrylic plastic. For the vinyl cutter I simply typed my name out on Illustrator and cut it out on the vinyl cutter. I then stuck it to my designer notebook. With the knowledge I learned using these machines, it makes it easier to be able to make logos, signs, or labels. Lastly I learned how important it is to make sure the machines have all of the correct settings otherwise it could do some damage to them. It taught me to be more observant of what I am trying to accomplish.
Individual Projects
Vinyl Project
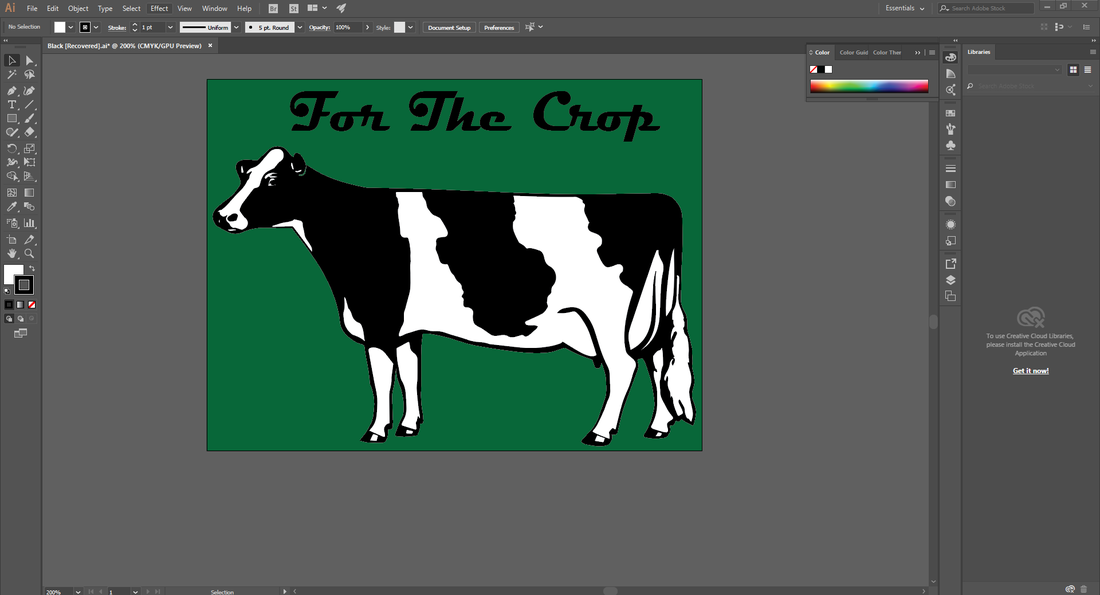
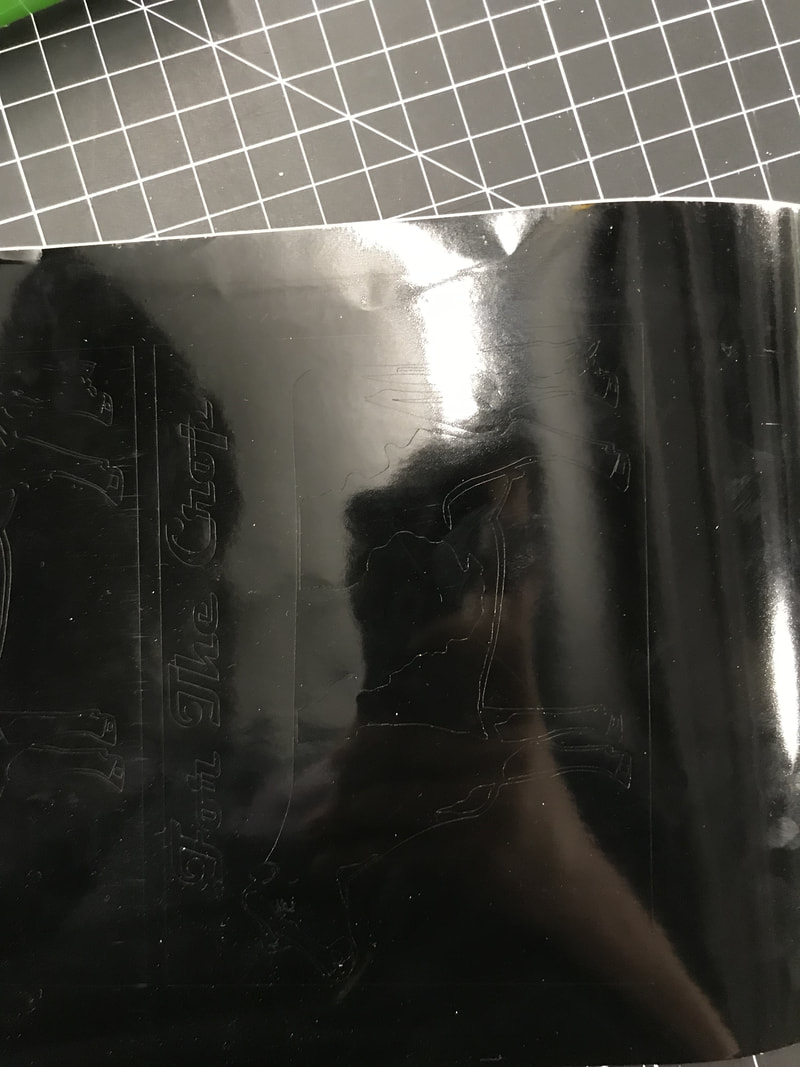
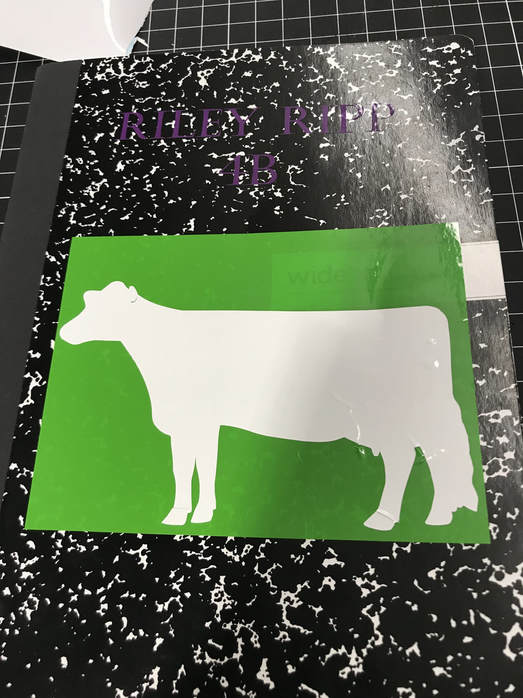
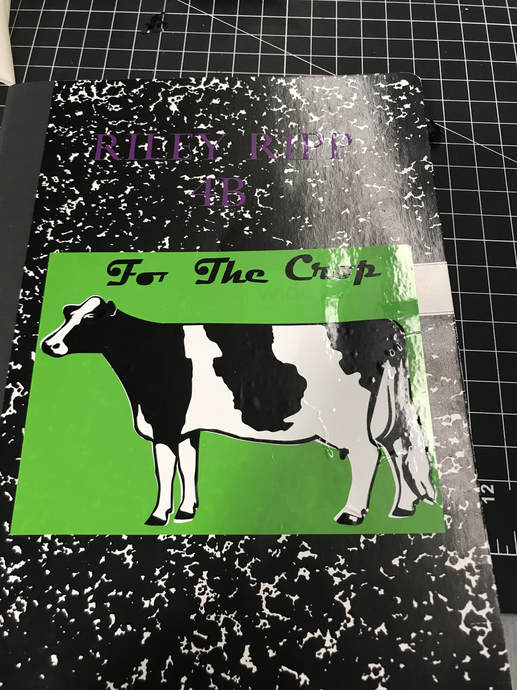
For my vinyl project, I already had an idea of what I wanted to do. I wanted to stick a picture of a barn or farm to the side of my hardhat. So one of my first steps to do was to search on the internet to find some sort of "Farm" black and white picture. Most of the pictures that showed up would have worked but then I decided to go with a cow. I then grabbed my designer notebook and started to sketch what I wanted to do. I then found out that I wanted the cow to stand on a green sheet of vinyl so that it could simulate grass. I didn't just want to put a picture of a cow on the hard hat so I added the saying, "For The Crop". This is a saying my friends and I started to say to respect the dairy farm. Its pretty cool. I then ended up with going with an all green background and a black and white cow with the black letters across the top saying, "For The Crop". I later found out that putting the vinyl did not want to stick on the hard hat very well so I just decided to stick it to my designer notebook.
Designer Notebook Sketches

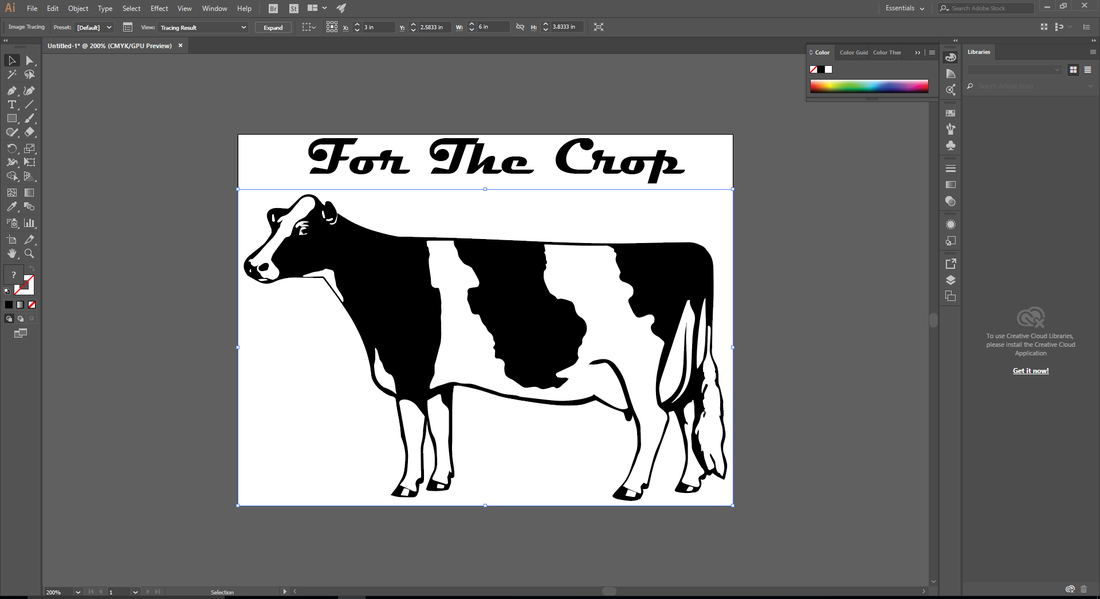
Illustrator Sketch
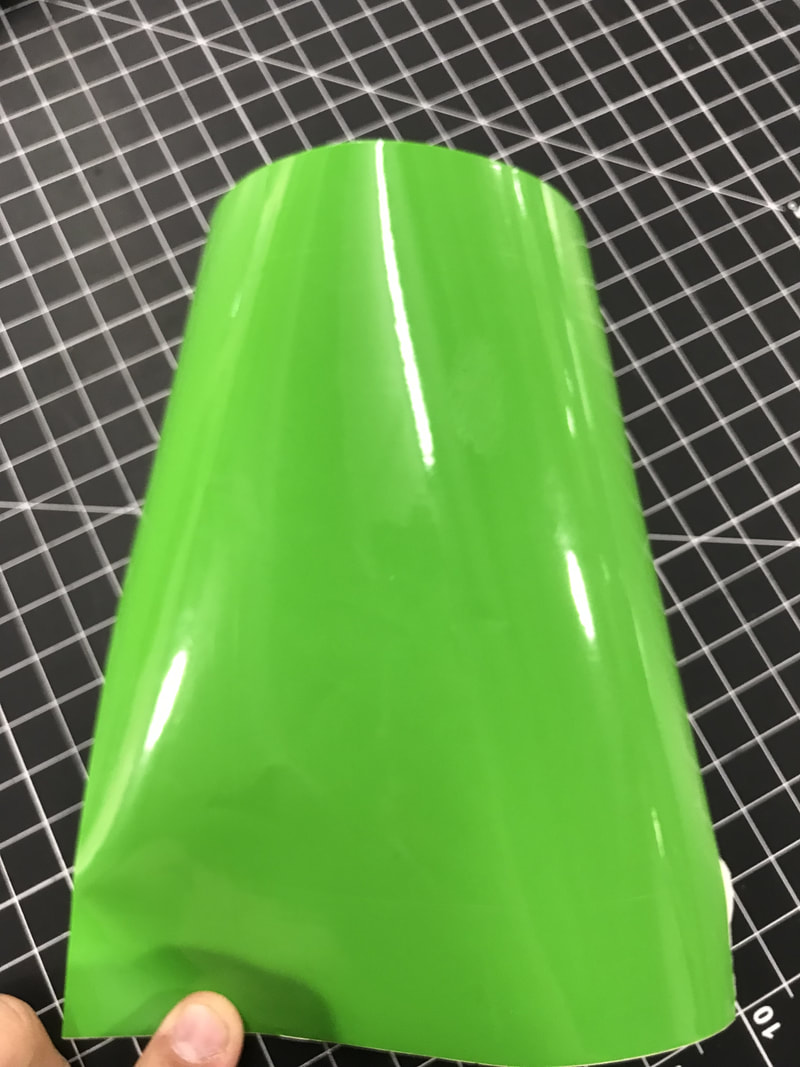
The Cut Out Vinyl
Applying to Designer Notebook
Final Product!
What I learned?
This project was a nice refresher on how to use the Vinyl cutter. This project made me think more on how to use the machine because when I first used it I wasn't so familiar with it. After I used it to cut out the green background, I felt like I was a pro at using the Vinyl cutter. Another thing that I learned how to do was to take an created image and pretty much separate it to be able to add what ever color vinyl you want to it. For example I separated the cow and the "grass". For the cow I just took the out line of it so I could stick a blank white cow on the green part. I then had to stick the black pieces on perfectly so that the design actually looked like a cow. This project taught me to be more precise on where I want things to be placed and to take my time. I think I screwed this project up enough to know that I need to take more time on it.
